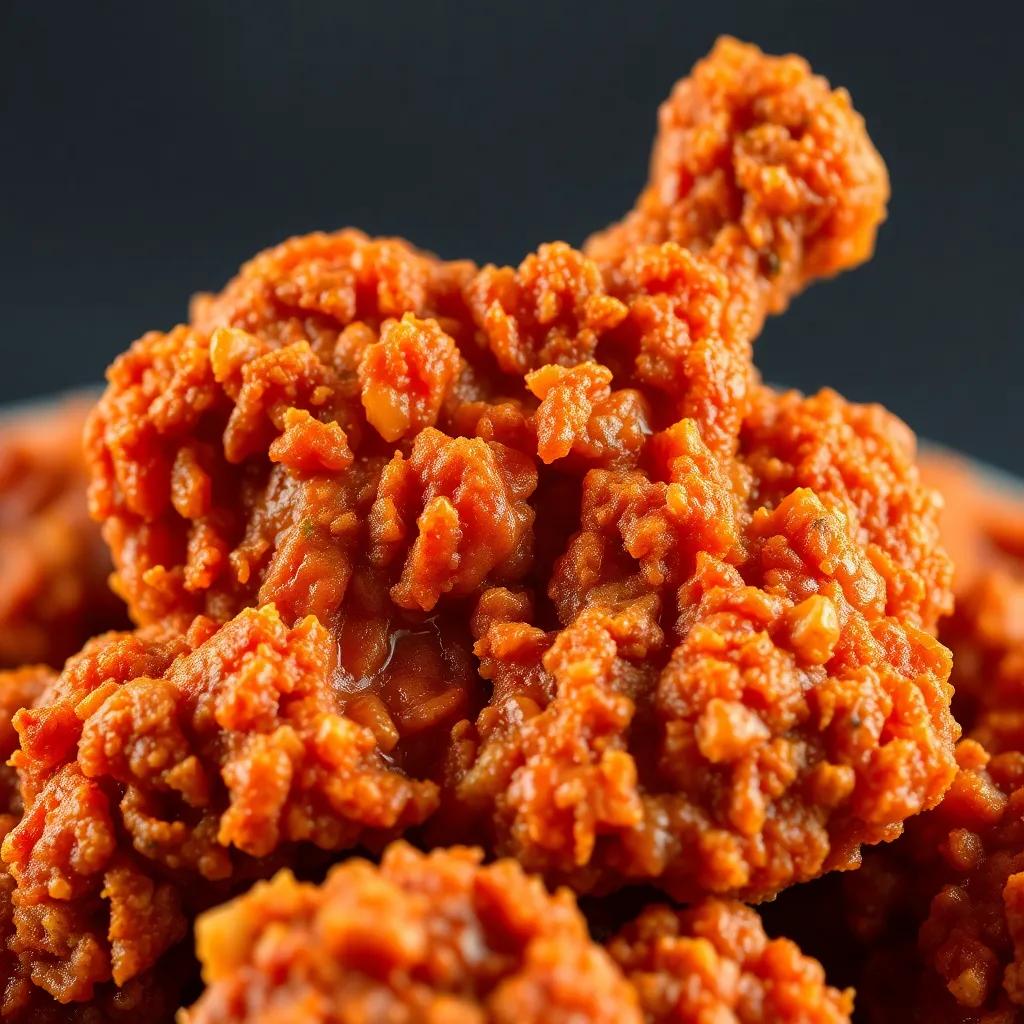
Crispy Fried Chicken Secrets: Easy, Juicy & Flavor-Packed Recipe
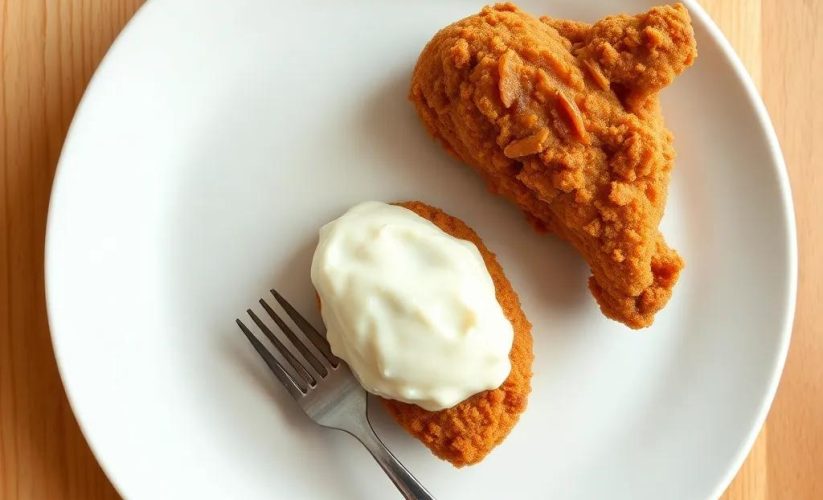
Crispy Fried Chicken Secrets: Easy, Juicy & Flavor-Packed Recipe
🌍 Cuisine: American
⚙️ Difficulty: Easy
Ingredients
Nutrition Facts
550 kcal
Instructions
- Pour the buttermilk into a large bowl. Submerge the chicken pieces in the buttermilk, cover, and refrigerate for at least 2 hours, preferably overnight. This tenderizes the chicken and infuses it with flavor.
- In another large bowl, combine the all-purpose flour, paprika, garlic powder, onion powder, salt, black pepper, cayenne pepper (if using), and baking powder. Mix well to evenly distribute the spices.
- Remove the chicken from the buttermilk, shaking off any excess liquid.
- Coat each chicken leg quarter thoroughly in the seasoned flour mixture. For extra crispiness, dip back into the buttermilk quickly and coat again in flour (double dredge).
- Place the coated chicken on a wire rack and let it rest for about 15 minutes. This helps the coating adhere better during frying.
- Heat vegetable oil in a deep fryer or large heavy-bottomed pot to 350°F (175°C). The oil should be deep enough to fully submerge the chicken pieces.
- Carefully place the chicken pieces in the hot oil without overcrowding the pot. Fry in batches if necessary.
- Fry the chicken for 12–15 minutes, turning occasionally, until golden brown and crispy. Use a meat thermometer to check internal temperature; it should read 165°F (74°C).
- Remove the chicken from the oil and place it on a wire rack set over a baking sheet to drain excess oil. Let it rest for 5 minutes before serving.
- Serve hot, garnished with your favorite herbs or alongside classic sides like coleslaw or mashed potatoes.
Serving Suggestions
- Serve with creamy coleslaw to add a refreshing crunch and balance the richness.
- Pair with classic mashed potatoes and white gravy for a comforting meal.
- Offer with buttery corn on the cob and baked beans for a southern-inspired feast.
- Make a crispy chicken sandwich by adding pickles and spicy mayo on a soft bun.
- Accompany with a tangy honey mustard dipping sauce or hot sauce for extra flavor.
- Serve alongside a fresh green salad or roasted vegetables to lighten the meal.
- Enjoy as part of a picnic or party platter with assorted dipping sauces.
Table of Contents
Intro
There’s something undeniably comforting about a plate of crispy fried chicken—a harmony of crunchy, golden crust giving way to tender, juicy meat beneath. This recipe captures that beloved classic with a simple, foolproof approach that anyone can master at home. Whether you’re craving a cozy family dinner, planning a weekend gathering, or looking to impress guests with a crowd-pleasing dish, these flavorful chicken leg quarters deliver on taste and texture without fuss.
What makes this recipe truly special is how effortlessly it balances a satisfyingly crisp exterior with a bursting-from-the-inside juiciness, ensuring each bite is packed with flavor. It’s the perfect centerpiece for casual occasions like picnics, potlucks, or game day feasts, where its familiar appeal never fails to bring smiles around the table. Plus, the method leaves plenty of room for you to add your own twist—a dash of spice, a hint of herbs, or a creative side—making it an exciting base to elevate your comfort food repertoire.
No matter your skill level in the kitchen, these crispy fried chicken secrets give you the confidence to prepare a classic southern-style favorite that’s both accessible and irresistibly delicious. Ready to savor that crackling crunch paired with juicy, flavorful chicken? Let’s get started!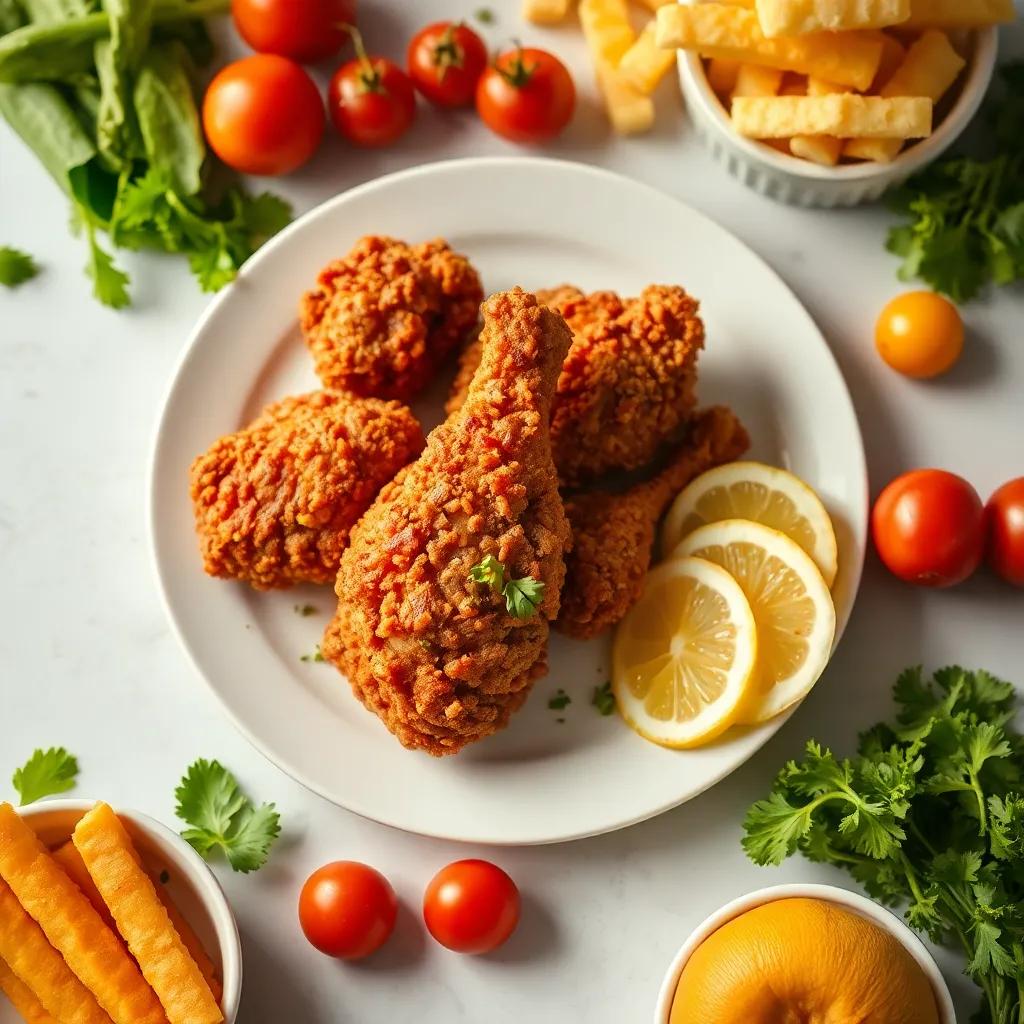
Ingredient Notes
One of the unsung heroes in this crispy fried chicken recipe is the buttermilk. Beyond just a tangy flavor booster, buttermilk’s acidity gently tenderizes the chicken by breaking down proteins in the meat, resulting in an irresistibly juicy interior. When shopping for buttermilk, look for full-fat or whole buttermilk for the creamiest, most flavorful results; avoid low-fat versions that can compromise moisture. If buttermilk isn’t on hand, a quick DIY substitute works well: simply mix 1 cup of milk with 1 tablespoon of lemon juice or white vinegar and let it sit for 5–10 minutes until slightly thickened.
The choice of all-purpose flour as a coating base is more than just convenience—it offers the ideal balance of texture and browning. Its moderate protein content ensures a crust that crisps nicely without becoming stiff or gummy. To intensify crispness, this recipe smartly includes a bit of baking powder, which might seem unusual but plays a crucial role in creating tiny air pockets within the coating. These pockets help lift and separate the crust, making it light yet crunchy. For those exploring alternatives, cornstarch or rice flour can be blended with all-purpose flour to add an even lighter, extra-crispy bite.
Paprika isn’t just a colorful addition—its sweet, smoky notes are essential in deepening the flavor profile without overwhelming the palate. When choosing paprika, consider trying smoked paprika for a subtle smoky aroma that complements the fried chicken’s richness beautifully. If you prefer a milder flavor or a spicier kick, feel free to adjust the amount or swap it with mild chili powder or a blend of smoked and sweet varieties.
Finally, the choice of vegetable oil for frying is key to achieving that perfect crisp without imparting unwanted flavors. Neutral oils with high smoke points—like canola, peanut, or sunflower oil—are ideal because they tolerate the 350°F frying temperature well, maintaining a clean taste and crisp texture. Avoid olive oil or butter for frying as their lower smoke points and strong flavors can affect the chicken’s outcome. Using enough oil to fully submerge the pieces ensures even cooking and a uniformly golden crust.
By paying attention to these ingredient details—from the transformative tang of buttermilk to the science of baking powder in the flour—you’ll unlock the full potential of your fried chicken. These subtle touches make all the difference between ordinary and truly memorable.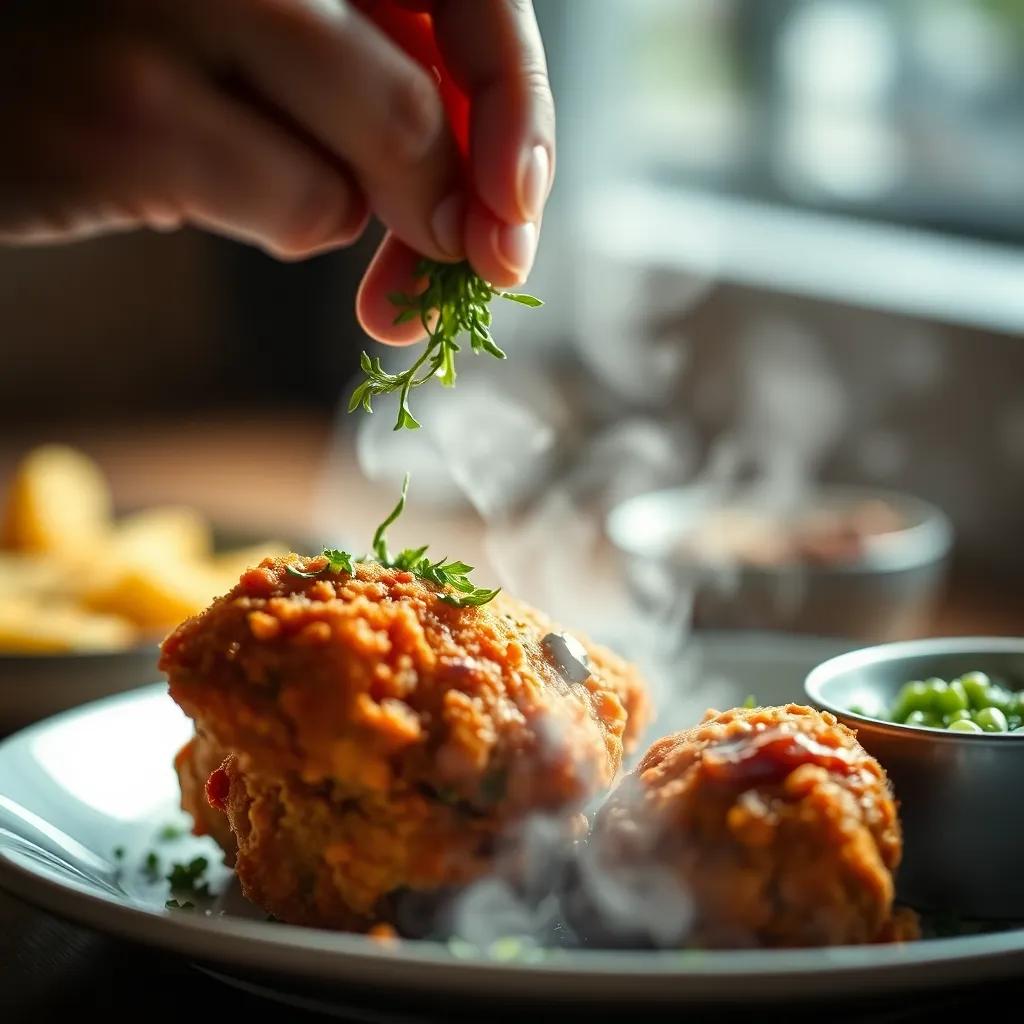
Tips & Variations
Mastering crispy fried chicken is both an art and a science, and a few insider tweaks can elevate this classic recipe to next-level deliciousness. Here are some expert tips and inspiring variations to make your fried chicken uniquely yours:
- Marinating Magic: While the buttermilk soak is essential for tenderness, consider adding complementary flavors to the marinade. A splash of hot sauce, a teaspoon of smoked paprika, or a crushed garlic clove infused in the buttermilk can build deeper layers of flavor. For an even juicier result, brine the chicken in a saltwater solution for 1–2 hours before the buttermilk soak to lock in moisture.
- Coating Creativity: The double dredge step—flour, back into buttermilk, then flour again—creates an irresistibly crunchy crust. For a more textured bite, add crushed cornflakes, panko breadcrumbs, or ground nuts (like almonds or pecans) into the flour mixture. Alternatively, mixing a small amount of cornstarch with the flour boosts crispness and helps prevent grease absorption.
- Spice It Up: The seasoning blend is a wonderful starting point, but feel free to customize it to suit your palate. Add dried herbs such as thyme, oregano, or cayenne for an herbal or spicy punch. For an Asian-inspired twist, try adding five-spice powder or a pinch of white pepper to the flour mix.
- Oil Temperature & Frying: Maintaining the oil at a steady 350°F (175°C) is key to crispiness and thorough cooking. Too hot, and the outside burns before the chicken cooks through; too cool, and the crust absorbs excess oil, getting soggy. Use a deep-fry thermometer to monitor the temperature, and avoid overcrowding the pan to keep the oil temperature steady.
- Dietary Swaps:
– Gluten-Free: Replace all-purpose flour with a gluten-free blend, rice flour, or a mix including chickpea flour. Adding some cornstarch also helps replicate that coveted crunch.
– Vegan/Vegetarian: Swap chicken for cauliflower florets, tofu cubes, or seitan strips. Use plant-based milk mixed with vinegar or lemon juice in place of buttermilk. Vegan “egg” substitutes or aquafaba can help the coating adhere.
– Lower Carb: For a keto-friendly version, try almond flour or crushed pork rinds as the coating instead of traditional flour, paired with a full-fat buttermilk or yogurt marinade.
- Resting is Key: Allowing the coated chicken to rest before frying lets the crust set and adhere better, reducing breading fall-off and resulting in an even crispier finish.
- Oven Finish Option: For a lighter take or to ensure the chicken is perfectly cooked inside without excess frying time, try frying the chicken just until golden on the outside, then finish baking it in a preheated 375°F (190°C) oven on a wire rack for 10–15 minutes. This method reduces oil absorption and guarantees juicy meat.
- Flavorful Additions: Experiment with adding finely chopped fresh herbs (like rosemary or sage) to the flour mixture or topping the hot fried chicken with a squeeze of fresh lemon juice right before serving to brighten the flavors.
With these tips and adaptable ideas, your crispy fried chicken can be as classic or as inventive as you wish—whether you’re shooting for old-school Southern comfort or a modern global twist. Embrace the process, get creative, and savor the crunch!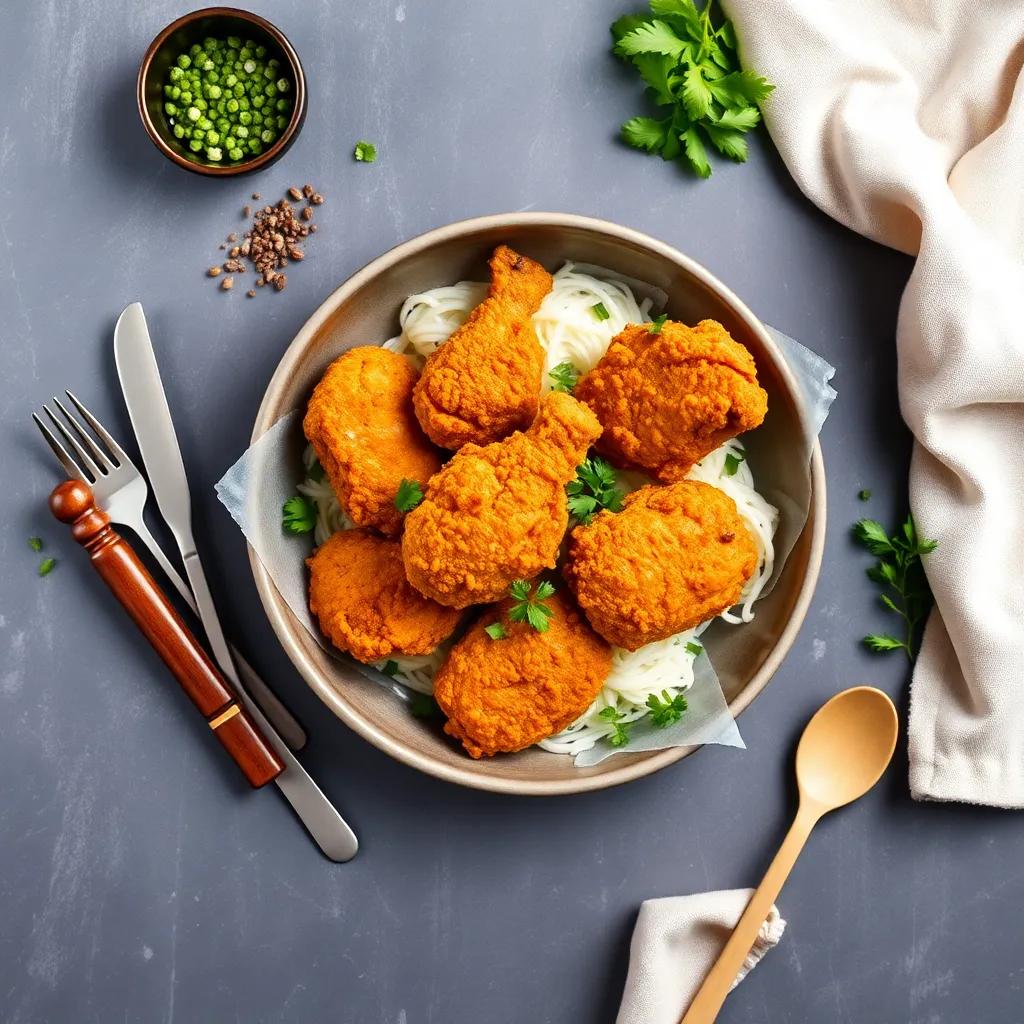
Leftovers & Storage
Saving and savoring your crispy fried chicken leftovers is a delightful way to extend the joy of this classic comfort food beyond the first meal. To keep that golden crust crispy and the meat juicy for later enjoyment, proper storage and reheating are essential.
Storing Leftovers:
Once your fried chicken has cooled to room temperature, transfer the pieces into an airtight container to preserve freshness. Using containers with a tight seal helps prevent moisture from making your crust soggy. Alternatively, you can wrap each piece individually in parchment paper or paper towels before placing them in the container—this extra layer absorbs excess humidity and keeps the coating crisper.
Refrigeration:
Stored in the fridge, your fried chicken will stay tasty for up to 3 to 4 days. For best results, place the container on a middle or top shelf where temperature fluctuations are minimal. Resist leaving fried chicken out at room temperature for more than two hours to avoid bacterial growth.
Freezing:
If you want to keep leftovers longer, freezing is the way to go. Wrap each piece tightly in plastic wrap or aluminum foil, then place them in a freezer-safe bag or container to prevent freezer burn. Properly stored, fried chicken can last up to 3 months in the freezer without significant loss in flavor or texture.
Meal Prep & Packing Tips:
Fried chicken makes an excellent option for meal prep lunches or picnic fare. When packing meals, include a small vented container or wrap the chicken loosely to avoid sweat buildup. Pair it with sturdy sides such as coleslaw, roasted veggies, or a fresh salad to maintain a great contrast of textures.
Reheating for Crunch and Juiciness:
Reheating fried chicken while preserving its crispiness can be tricky but by no means impossible. Avoid microwaving as it tends to turn the crust chewy and the chicken dry. Instead, here’s how to bring your leftovers back to life:
- Oven Method: Preheat your oven to 375°F (190°C). Place the chicken on a wire rack over a baking sheet to allow air circulation around the pieces. Heat for 10–15 minutes or until the internal temperature reaches 165°F (74°C). This method restores crispiness while warming the chicken evenly. If you don’t have a wire rack, elevate the chicken slightly on crumpled foil.
- Air Fryer: For an ultra-crispy result in less time, use an air fryer at 350°F (175°C) for 5–8 minutes. This method rejuvenates the crust beautifully while keeping the meat moist.
- Skillet Reheat: In a pinch, heat a non-stick skillet over medium heat and add a small amount of oil. Cook the chicken pieces turning occasionally until warmed through and crispy, about 5–7 minutes. Be careful not to overheat and dry out the meat.
By keeping these storage and reheating steps in mind, your crispy fried chicken remains a flavorful, juicy indulgence whenever the craving strikes again—whether the next day’s lunch or an impromptu snack. With a little care, leftovers become another golden opportunity to savor one of America’s beloved classics in all its crunchy glory.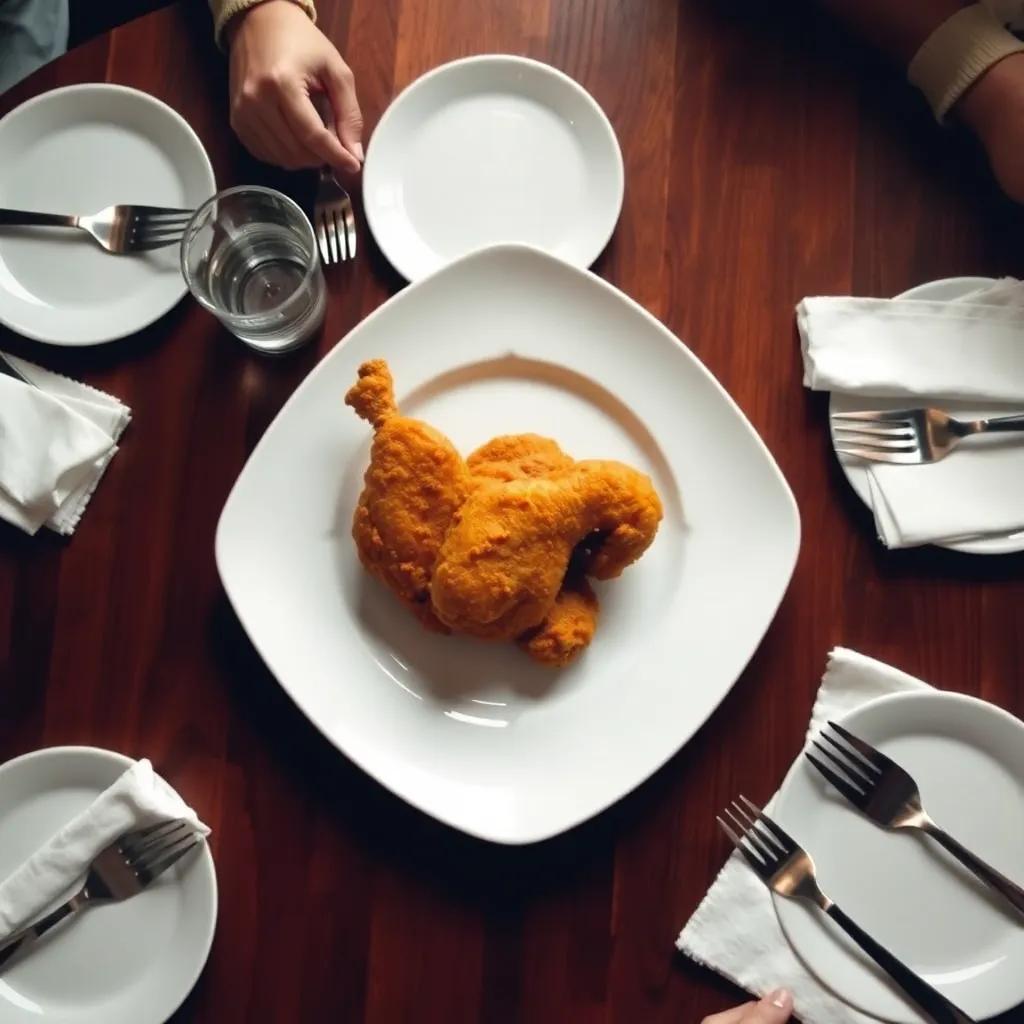
Behind the Recipe
Fried chicken is more than just a popular dish; it’s a culinary icon woven deeply into American culture, especially in the South where its roots run rich and varied. This recipe’s inspiration comes from generations of home cooks and roadside diners, where the art of achieving that perfect balance between crispy crust and juicy meat was passed down through family stories and shared meals. The technique of buttermilk marinating and double dredging reflects time-tested practices that originated as practical ways to tenderize tougher cuts of chicken and create a resilient, flavorful coating.
Personally, this recipe developed from countless attempts to replicate the magic of classic Southern fried chicken without overwhelming complexity or long ingredient lists. The addition of baking powder, for instance, was a little-known secret I stumbled upon while experimenting with crust texture—it injects just the right lightness and lift to the breading, setting it apart from ordinary flour coatings. The seasoning blend, too, nods to the subtle smoky hints and spice profiles common in Southern kitchens, yet remains approachable for cooks everywhere.
Beyond technique, fried chicken embodies comfort, celebration, and community. Whether sizzling in a cast-iron skillet on a lazy Sunday afternoon or served at a festive gathering, it brings people together around shared warmth and satisfaction. This recipe honors that tradition by offering a straightforward path to achieving those soulful flavors and textures at home, inviting cooks of all backgrounds to connect with a beloved American staple in their own kitchen.
In essence, these “crispy fried chicken secrets” are a tribute to the enduring joy of a simple, well-made dish—a culinary handshake between history, science, and heartfelt cooking that turns ordinary chicken into something memorably delicious.
FAQ
Can I use boneless chicken instead of bone-in for this recipe?
What’s the best way to keep fried chicken juicy and crispy after frying?
Can I make this recipe gluten-free?
How can I store leftover fried chicken safely?
What’s the best way to reheat fried chicken without losing crispiness?
Can I marinate the chicken overnight to boost flavor?
Are there any easy ways to make this recipe spicier or milder?
Time to Dig In
There’s something truly comforting about biting into crispy, golden fried chicken that’s bursting with juicy flavor — and this recipe brings all those crave-worthy qualities right to your kitchen with ease. Whether you’re cooking for family, friends, or just treating yourself, these simple secrets are sure to make your fried chicken memorable and delicious every time.
If you give it a try, we’d love to hear how it turned out! Feel free to leave a comment, share your rating, or tell us about your own flavor-packed twists. After all, the best recipes are the ones made even better by your personal touch. Happy frying!