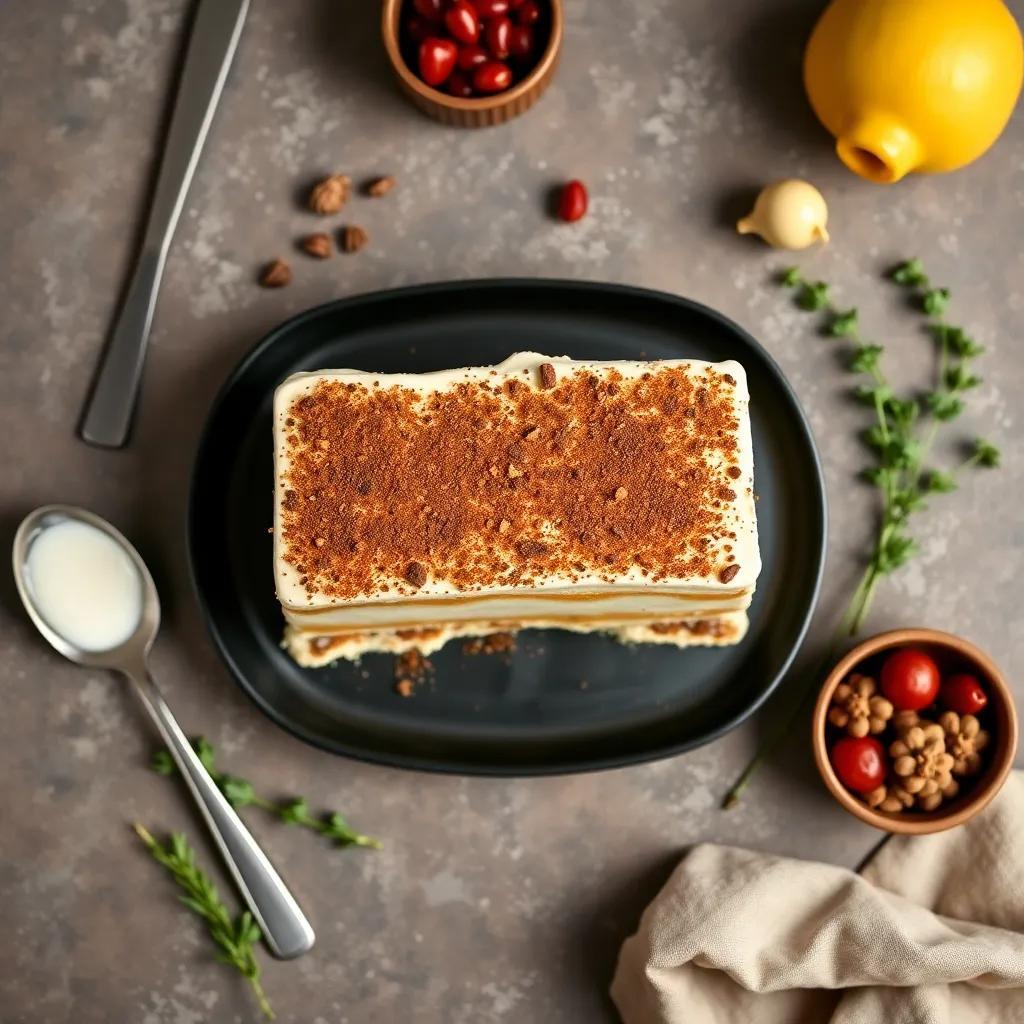
Unlock Classic Bliss: Easy Homemade Tiramisu Recipe to Try Today

Unlock Classic Bliss: Easy Homemade Tiramisu Recipe to Try Today
🌍 Cuisine: Italian
⚙️ Difficulty: Easy
Ingredients
Nutrition Facts
430 kcal
Instructions
- In a heatproof bowl, whisk together the egg yolks and sugar until well combined.
- Place the bowl over a pot of simmering water (double boiler) and whisk continuously for about 8-10 minutes until the mixture thickens and is pale yellow. Remove from heat and let it cool slightly.
- In a separate bowl, whip the heavy cream until stiff peaks form.
- Gently fold the mascarpone cheese into the cooled egg yolk mixture until smooth and creamy.
- Carefully fold the whipped cream into the mascarpone mixture until fully incorporated.
- Mix the cooled espresso with coffee liqueur (if using) in a shallow dish.
- Quickly dip each ladyfinger into the espresso mixture, making sure not to soak them too long or they will become soggy.
- Arrange a layer of soaked ladyfingers at the bottom of your serving dish or individual glasses.
- Spread half of the mascarpone cream mixture evenly over the ladyfingers.
- Add another layer of dipped ladyfingers on top of the cream.
- Spread the remaining mascarpone cream evenly over the top.
- Cover and refrigerate the tiramisu for at least 4 hours, preferably overnight, to allow the flavors to meld and the dessert to set.
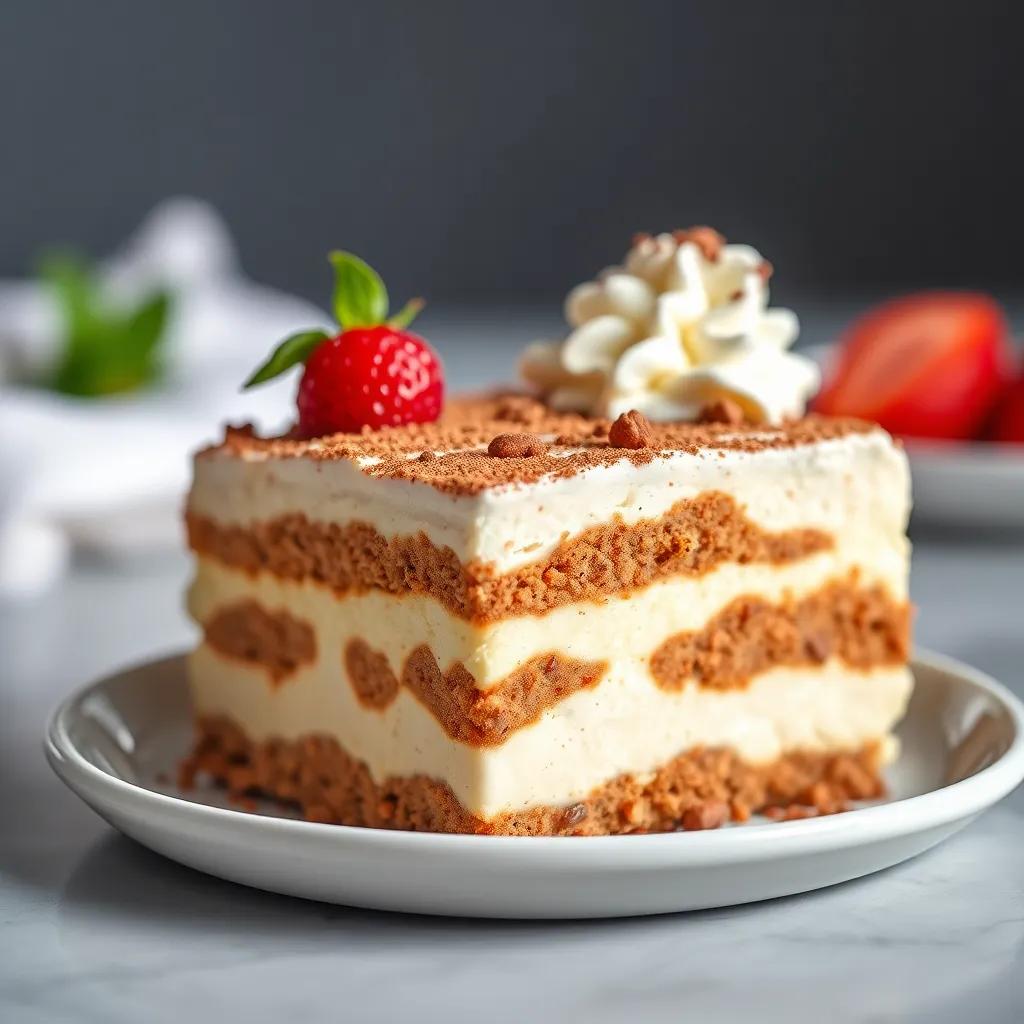
- Before serving, dust the top generously with unsweetened cocoa powder and garnish with dark chocolate shavings if desired.
- Serve chilled and enjoy your classic homemade tiramisu bliss!
Serving Suggestions
- Pair your tiramisu with a fresh cup of espresso or cappuccino to enhance the coffee flavors.
- Serve chilled with a sprinkle of dark chocolate or cocoa nibs for added texture.
- Accompany tiramisu with fresh berries such as raspberries or strawberries for a tart contrast.
- For a celebratory touch, serve with a glass of sweet dessert wine like Vin Santo or Marsala.
- Add a sprig of fresh mint as a fragrant garnish to brighten the presentation.
- Try individual servings in small glasses for elegant dinner parties or special occasions.
- Enhance the flavor by adding a layer of shaved white chocolate between mascarpone layers.
Table of Contents
Intro
There’s something truly magical about making tiramisu at home—a timeless dessert that transforms simple ingredients into a luscious celebration of flavors and textures. This easy homemade tiramisu recipe invites you to experience that classic Italian charm without any fuss or complicated steps. Whether you’re treating yourself after a long day, impressing guests at a dinner party, or celebrating a special moment, this dessert delivers creamy richness, gentle coffee warmth, and just the right touch of indulgence.
What makes this recipe especially exciting is how accessible it is: no baking required, straightforward preparation, and the kind of satisfying results that make it feel like a real accomplishment. It’s perfect for those who appreciate authentic taste but want to keep the process relaxed and enjoyable. Layer by layer, you’ll watch it come together into a beautiful dessert that’s as elegant as it is comforting.
Ideal for serving chilled on warm afternoons, festive occasions, or even as a sweet finale to a cozy family meal, homemade tiramisu brings a sense of occasion and delight to the table. Plus, preparing it yourself means you can tailor it to your mood—whether that’s extra coffee kick, a dash of liqueur, or a visually stunning presentation in individual glasses. Get ready to unlock a classic bliss that’s both timeless and unmistakably yours.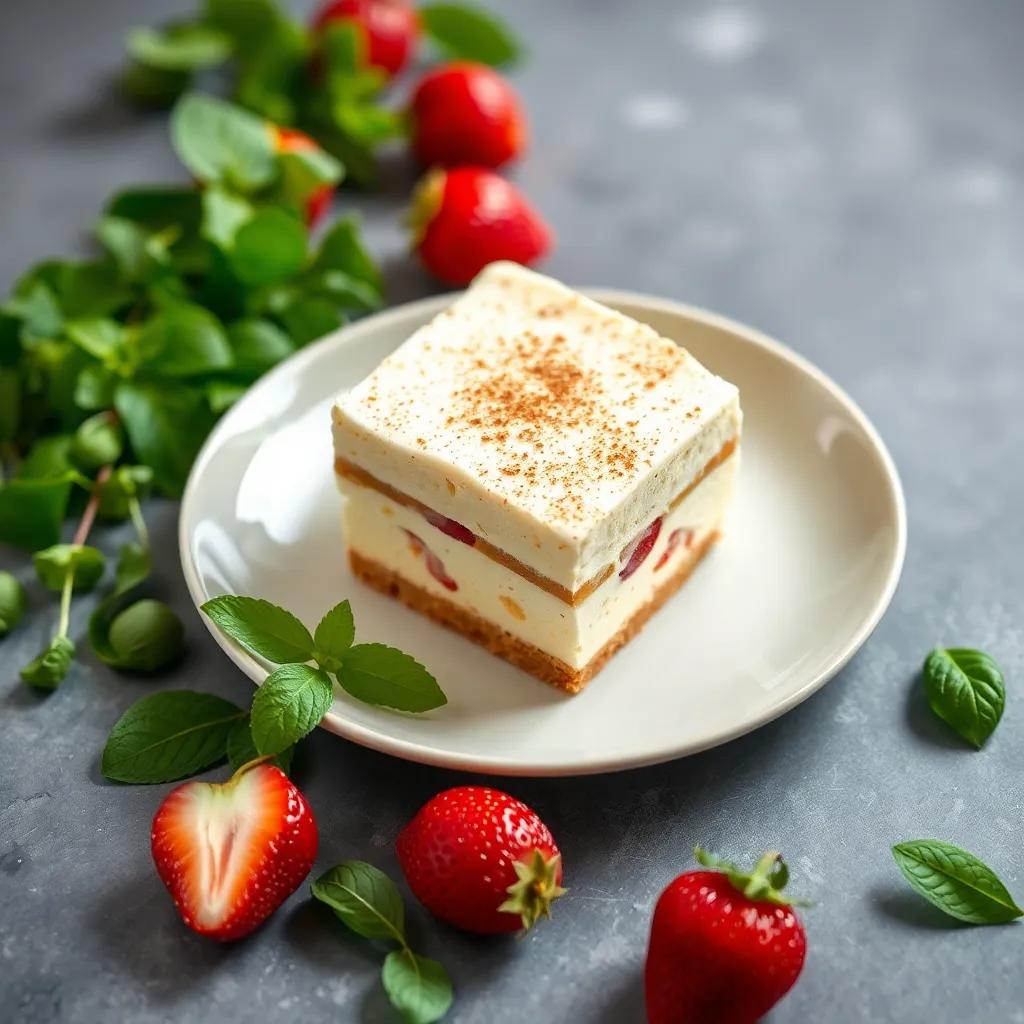
Ingredient Notes
When crafting your tiramisu, a handful of standout ingredients truly shape its signature taste and texture. Understanding their roles and selecting quality options can elevate your dessert from good to unforgettable.
Mascarpone Cheese
This creamy, luscious Italian cheese is the heart of tiramisu’s rich filling. Unlike cream cheese or ricotta, mascarpone offers a uniquely smooth and slightly sweet profile that melds perfectly with whipped cream and egg yolks. When shopping, look for mascarpone labeled with “Italian origin” or “fresh” to ensure authenticity and freshness. If mascarpone is hard to find, a blend of cream cheese softened with heavy cream can work as a substitute, though the texture will be somewhat denser and less delicate.
Ladyfinger Biscuits (Savoiardi)
These crisp, sponge-like cookies are designed to absorb coffee without falling apart, providing tiramisu’s classic light yet structured layers. When picking ladyfingers, opt for those that are dry and firm—not soft or crumbly—as they’ll soak up the espresso just right. If you prefer gluten-free or homemade alternatives, almond flour-based biscuits or ladyfinger recipes made with gluten-free flour can do the trick, keeping that airy bite while accommodating dietary needs.
Espresso (or Strong Coffee)
The robust, bittersweet essence of espresso defines tiramisu’s seductive coffee note. For the best flavor impact, freshly brewed espresso is ideal. If you don’t have an espresso machine, a strong brew from a French press or stovetop Moka pot works beautifully. To avoid bitterness, allow the coffee to cool before dipping the ladyfingers. For a caffeine-free version, try robust decaffeinated coffee or even a coffee substitute like chicory.
Unsweetened Cocoa Powder
A final dusting of unsweetened cocoa powder on top provides a slightly bitter contrast that balances tiramisu’s creamy sweetness. Choose a high-quality, rich cocoa powder—preferably natural or Dutch-processed depending on desired acidity—that will deliver a deep chocolate flavor without overpowering the dessert. For an extra touch, consider lightly sifting it through a fine mesh to achieve a delicate, even layer.
By paying attention to these key ingredients and making thoughtful choices—or creative substitutions—you’ll unlock the authentic, luxurious character that makes homemade tiramisu a timeless classic.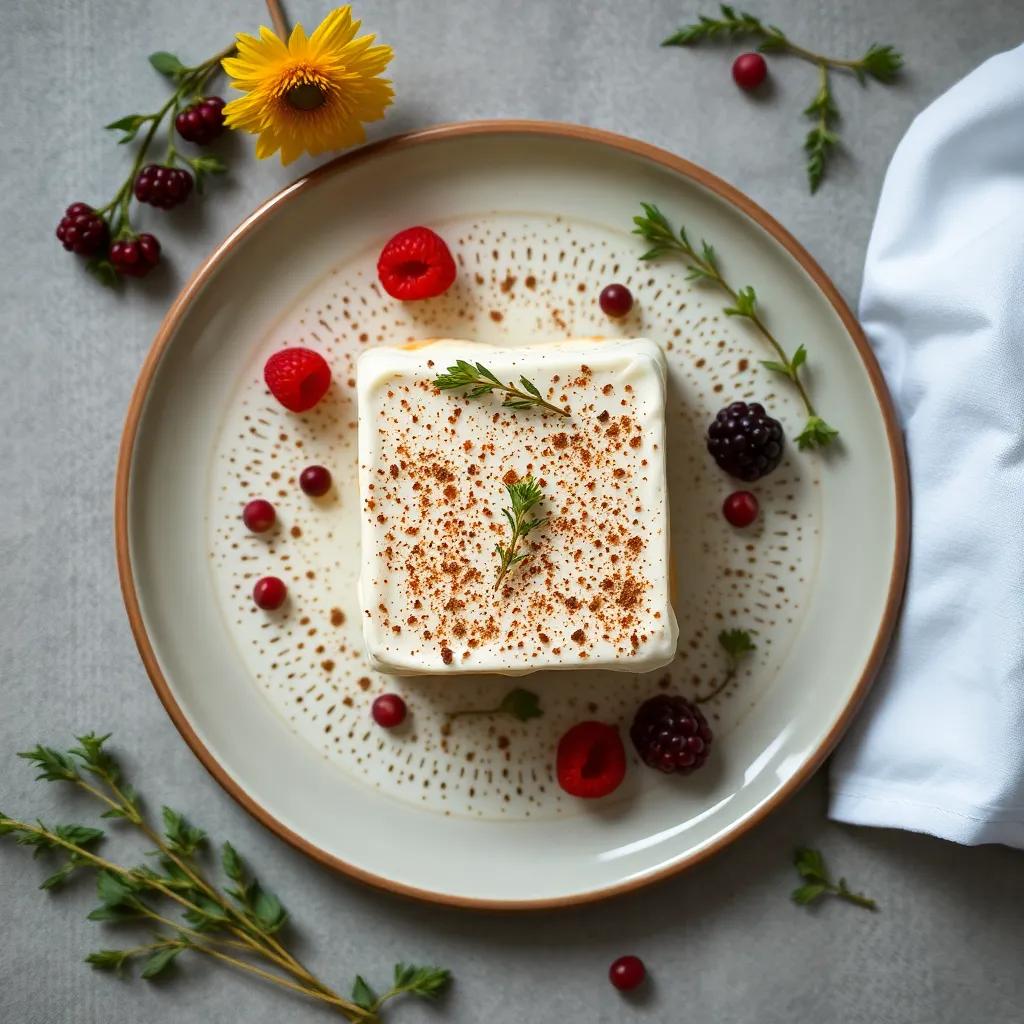
Tips & Variations
Mastering tiramisu at home opens a world of delicious possibilities, and a few insider tips can turn this classic dessert into your signature creation. To keep that perfect balance of creaminess and coffee-soaked ladyfingers, here are some pro pointers and fun variations to explore:
- Timing is everything: After assembling, refrigerate your tiramisu for at least 4 hours, ideally overnight. This rest allows the flavors to meld beautifully and the layers to set firmly. Resist the urge to dig in too soon—patience rewards you with that unrivaled silky texture and harmonious taste.
- Egg safety tip: Since this recipe uses raw egg yolks tempered gently over a double boiler, it’s important to use the freshest eggs possible and consume the dessert within a couple of days. For extra peace of mind, pasteurized eggs or egg substitute products specifically marked for safe raw consumption can be used.
- Ladyfinger soaking finesse: Dip ladyfingers quickly—just a second or two—in the espresso mixture to avoid sogginess. The goal is a coffee-kissed exterior with some structure still intact. If you’re curious, try placing the soaked ladyfingers on paper towels briefly to remove excess liquid before layering.
- Customize the coffee hit: The espresso and optional coffee liqueur combo is classic, but feel free to adjust. Use flavored liqueurs such as amaretto or hazelnut for a nutty twist. Or swap coffee liqueur with a splash of dark rum or brandy to give it a different warmth and complexity.
- Play with texture: For added crunch, sprinkle chopped toasted nuts—like hazelnuts or almonds—between layers or on top alongside cocoa powder. Alternatively, fold in finely grated orange or lemon zest into the mascarpone cream for a bright, aromatic lift.
- Dairy-free and vegan swaps: Create a vegan tiramisu by replacing mascarpone with a blend of soaked cashews pureed with coconut cream and coconut yogurt. Use coconut or almond-based whipped cream alternatives, and opt for vegan ladyfingers or gluten-free sponge cookies. Substitute raw eggs with a silken tofu or aquafaba-based mixture, whipped to mimic the creamy texture.
- Gluten-free adjustments: Use gluten-free ladyfinger biscuits or sponge cake in place of traditional savoiardi. Many supermarkets now offer gluten-free options, or you can bake your own gluten-free sponge layers for a fresh homemade touch.
- Add a fruity flair: For a seasonal twist, layer fresh berries like raspberries or sliced strawberries between the mascarpone layers. The tartness complements the creamy sweetness and coffee notes beautifully, adding freshness and color.
- Presentation variations: Try single-serving portions layered in clear glasses or mason jars for parties and easy serving. This option also allows for creative layering and decorative garnishes like whole coffee beans, chocolate curls, or edible flowers.
With these tips and twists in your arsenal, you can tailor this beloved Italian dessert to suit your tastes, dietary needs, or occasion. Whether sticking to tradition or daring to experiment, your homemade tiramisu will be a crowd-pleaser every time.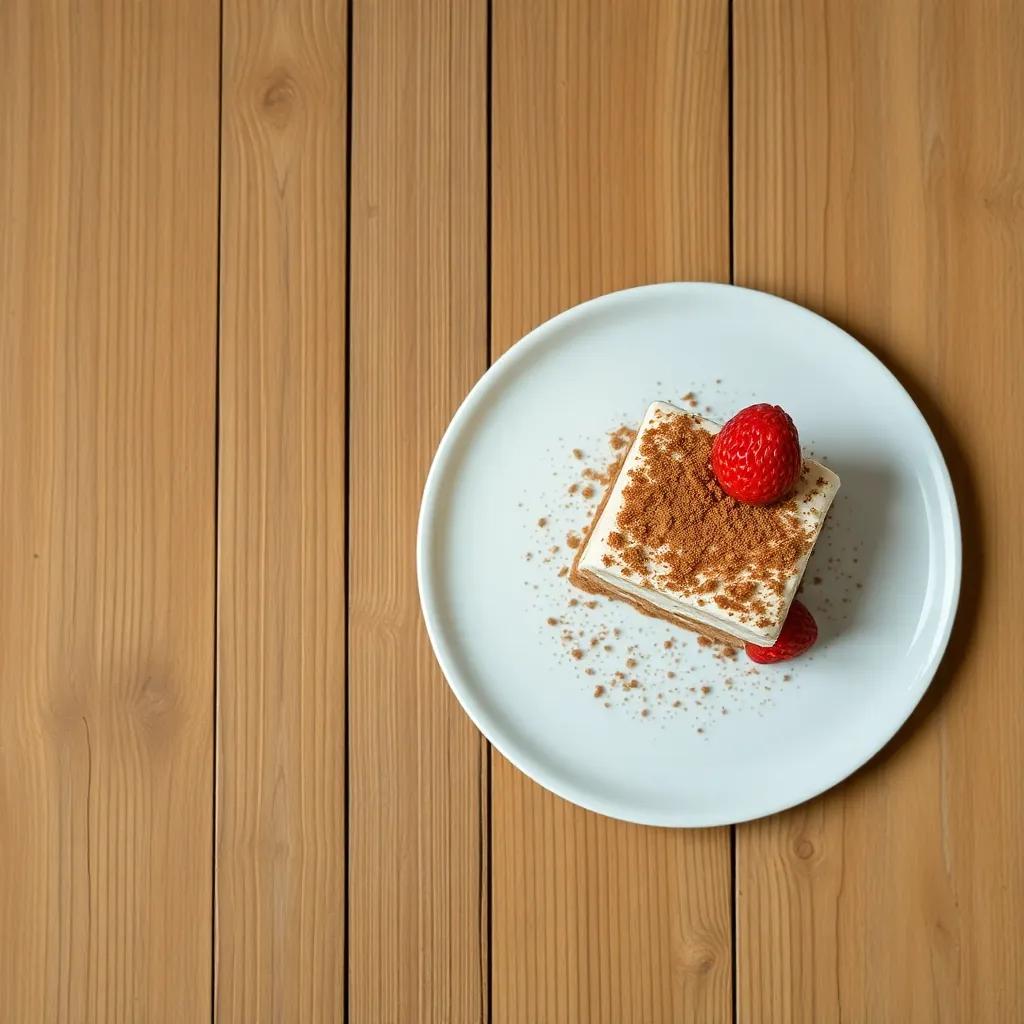
Leftovers & Storage
After indulging in this luscious homemade tiramisu, you may find yourself wondering how best to store any leftovers so that each serving stays as delightful as the first. Luckily, tiramisu is a dessert that lends itself beautifully to refrigeration and even freezing, making it a convenient treat to enjoy over a few days—or save for later celebrations.
To keep your tiramisu fresh, cover the dish tightly with plastic wrap or transfer individual servings into airtight containers. This protective barrier prevents the creamy mascarpone layers from absorbing any fridge odors and helps maintain moisture in the ladyfingers without turning them mushy. If you’ve made tiramisu in a large dish, using a snug-fitting lid or covering it with aluminum foil over the plastic wrap is ideal for a double seal.
Properly stored in the refrigerator, tiramisu will keep well for up to 3 days. Beyond that, the texture may begin to soften excessively, and the delicate flavors could dull, so it’s best to enjoy it within that window to experience its signature silky richness and balanced coffee notes.
If you want to extend tiramisu’s lifespan, freezing is a viable option, though with a few caveats. Scoop or slice portions into freezer-safe containers, ensuring minimal air exposure to prevent ice crystals. Frozen tiramisu can last up to 1 month. When ready to eat, thaw it gradually in the refrigerator for 8-12 hours rather than at room temperature, which helps preserve the creamy texture and prevents the coffee-soaked ladyfingers from becoming soggy or waterlogged. Keep in mind that freezing may slightly alter the softness of the mascarpone cream and the crispness of the ladyfingers, but the flavors remain wonderfully intact.
Tiramisu is also an excellent candidate for meal prepping or making ahead. Its flavor actually improves when allowed to rest, so preparing it a day or two in advance not only saves time but enhances those harmonious layers. For a grab-and-go dessert option, portion tiramisu into small jars or individual ramekins with lids, which makes refrigeration and transport simple and mess-free—perfect for picnic boxes, potlucks, or as an elegant dinner party treat.
In short, by storing tiramisu thoughtfully—tightly covered, chilled, and consumed within a few days or thoughtfully frozen—you can stretch the joy of this classic dessert beyond one sitting, savoring each creamy bite just as the flavors were meant to be enjoyed.
Behind the Recipe
Tiramisu is more than just a dessert—it’s a delightful narrative steeped in Italian tradition and culinary romance. Originating from the Veneto region in Italy during the 1960s, this beloved treat embodies the perfect harmony of simple yet thoughtfully combined ingredients that showcase Italian flair for elegant, no-fuss cooking. The name itself, tiramisu, loosely translates to “pick me up” or “lift me up,” a charming nod to the uplifting powers of coffee and cocoa that infuse each creamy bite.
Behind this recipe lies a tale of innovation meeting comfort. Although its exact origins spark friendly debate—some attribute its creation to the town of Treviso, others to historic Venetian cafes—tiramisu emerged as a modern classic that bridges generations. It was designed as a sophisticated yet accessible dessert, aimed at capturing the energy boost of espresso and the indulgence of rich mascarpone cream, layered with delicate ladyfingers. This balance of textures and flavors makes every slice feel like a small celebration.
On a personal note, homemade tiramisu carries a special magic: it’s a dessert that invites patience and care, rewarding you with a luscious, velvety finish that can turn an ordinary moment into something memorable. Many Italian families cherish this recipe for gatherings and special occasions, passing it down with subtle adaptations while preserving its essence. Preparing tiramisu often becomes a shared ritual—whisking egg yolks over a double boiler, folding mascarpone gently, and slowly layering soaked savoiardi—that connects people to both the history and heartfelt simplicity of Italian home cooking.
In essence, this easy homemade tiramisu recipe you’re about to try honors that timeless tradition, offering a way to unlock the bliss of Italy’s most iconic dessert from your own kitchen. It invites you to savor not only the decadent flavor but also the cultural richness and warm memories tied to every creamy, coffee-kissed spoonful.
FAQ
Can I make tiramisu without raw eggs?
What can I use if I don’t have espresso on hand?
How long can I store homemade tiramisu in the fridge?
Can I freeze tiramisu? If so, how do I thaw it?
Is there a dairy-free version of tiramisu I can try?
Can I make tiramisu ahead of time for a party?
What’s the best way to customize tiramisu for extra flavors?
Final Thoughts
There’s something undeniably comforting about a classic tiramisu—the perfect balance of rich mascarpone, bold espresso, and delicate cocoa dusting. This easy homemade version lets you unlock that timeless bliss right in your own kitchen, proving that great desserts don’t have to be complicated. Whether you’re impressing guests or indulging in a quiet night treat, it’s a sweet moment worth savoring.
Now it’s your turn! Give this tiramisu a whirl and see how it delights your taste buds. Don’t forget to drop a comment below, share your rating, or tell us about your own creative spin on this beloved recipe—we’d love to hear all about it!