Savor Irresistible Paneer Tikka: Easy, Gluten-Free & Flavor-Packed
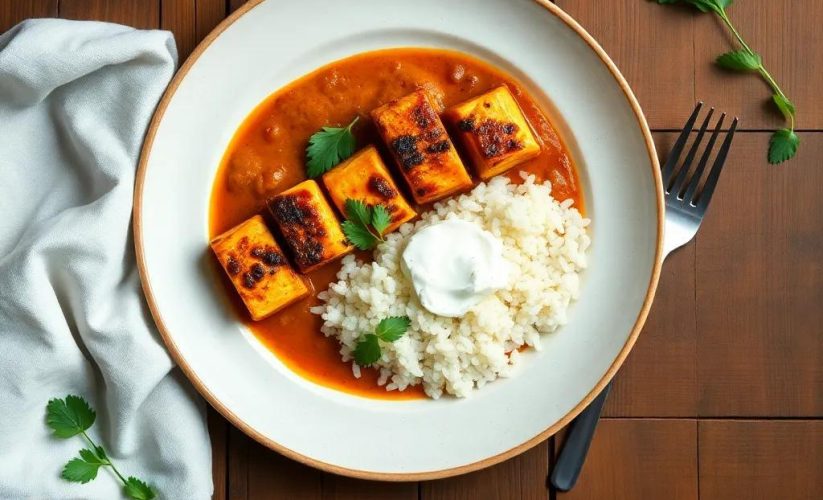
Savor Irresistible Paneer Tikka: Easy, Gluten-Free & Flavor-Packed
🌍 Cuisine: Indian
⚙️ Difficulty: Easy
Ingredients
Nutrition Facts
220 kcal
Instructions
- In a large bowl, combine thick yogurt, ginger-garlic paste, lemon juice, red chili powder, turmeric powder, garam masala, cumin powder, chaat masala, mustard oil, and salt. Mix well to create the marinade.
- Add the paneer cubes into the marinade and gently coat each piece. Cover and refrigerate for at least 1 hour to allow flavors to infuse.
- Preheat your grill or oven to 200°C (390°F) or prepare a stovetop grill pan.
- Thread the marinated paneer cubes along with bell pepper and onion chunks alternately onto skewers.
- Lightly brush the skewers with some oil to prevent sticking and add moisture while cooking.
- Place the skewers on the grill or in the oven and cook for 12 to 15 minutes, turning occasionally to ensure even cooking and slight charring on all sides.
- Alternatively, cook on a stovetop grill pan over medium heat for the same amount of time, turning frequently.
- Once cooked and slightly charred, remove the skewers from heat and let them rest for a few minutes.
- Sprinkle chaat masala and a little lemon juice over the hot paneer tikka for extra zing.
- Serve hot with green chutney, lemon wedges, and sliced onions on the side.
Serving Suggestions
- Serve with fresh mint-coriander chutney to complement the smoky flavors.
- Pair with a side of sliced onions and lemon wedges for a traditional touch.
- Enjoy alongside a fresh cucumber and tomato salad for a refreshing contrast.
- Serve as a starter at parties or family gatherings with assorted dips.
- Use the paneer tikka as a filling for wraps or sandwiches.
- Accompany with jeera rice or naan for a complete meal.
- Pair with a chilled glass of mango lassi or spiced buttermilk for an authentic experience.
Table of Contents
Intro
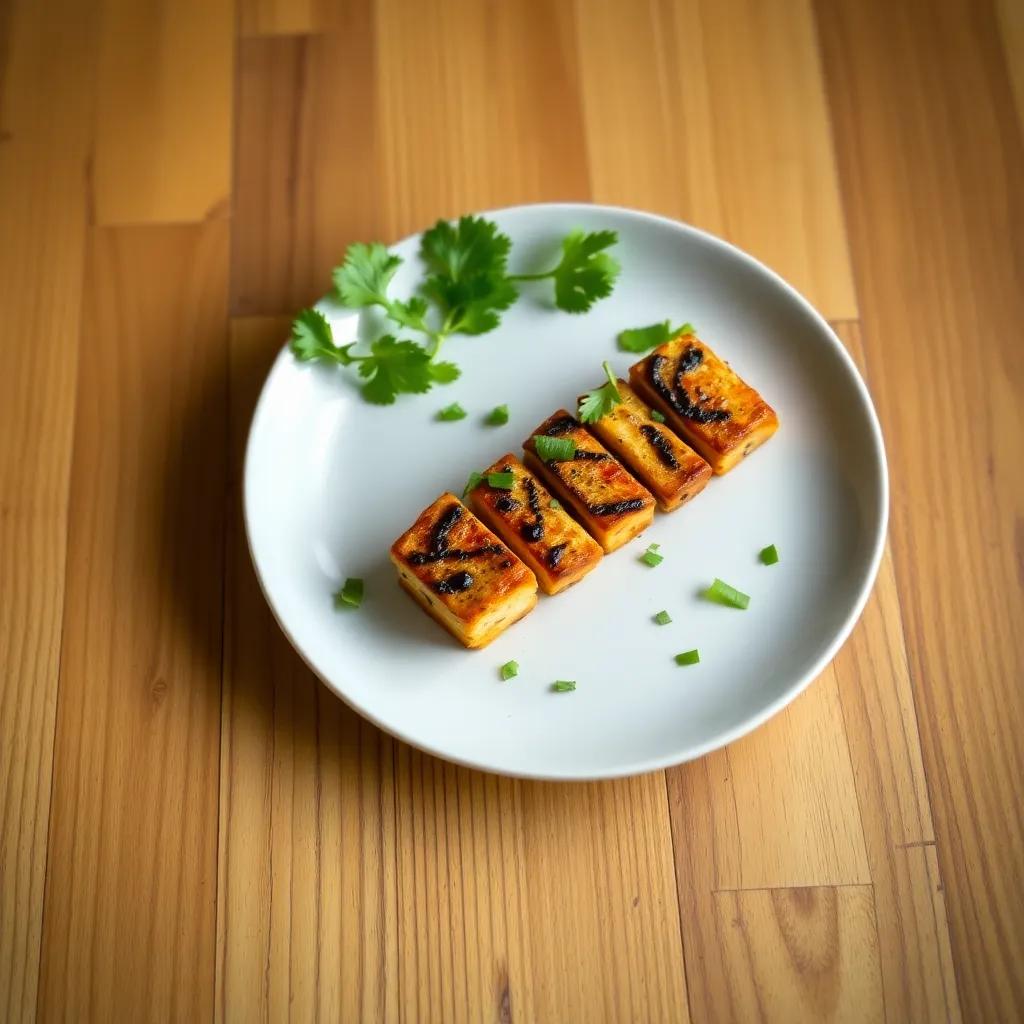
Paneer Tikka is a beloved classic appetizer that effortlessly brings vibrant Indian flavors to your table. This recipe is designed to be both approachable and rewarding—perfect for those moments when you want something impressive without hours in the kitchen. The combination of smoky, charred edges and tender, flavorful paneer makes every bite a delightful experience.
Whether you’re hosting a casual get-together, preparing a special weekend treat, or simply craving a satisfying snack, this gluten-free dish fits the occasion beautifully. Its colorful presentation with bell peppers and onions adds not only a burst of flavor but also an inviting visual appeal that’s sure to please guests and family alike.
What makes this paneer tikka truly exciting is how quickly you can elevate simple ingredients into something rich in taste and texture. With minimal preparation and straightforward cooking methods, you can create a dish that feels festive and authentic—no advanced culinary skills required. The best part? It pairs wonderfully with an array of accompaniments, making it versatile for many serving styles, from plated appetizers to casual finger food.
Embrace the joy of cooking this easy yet flavor-packed recipe and watch it become a favorite in your mealtime rotation.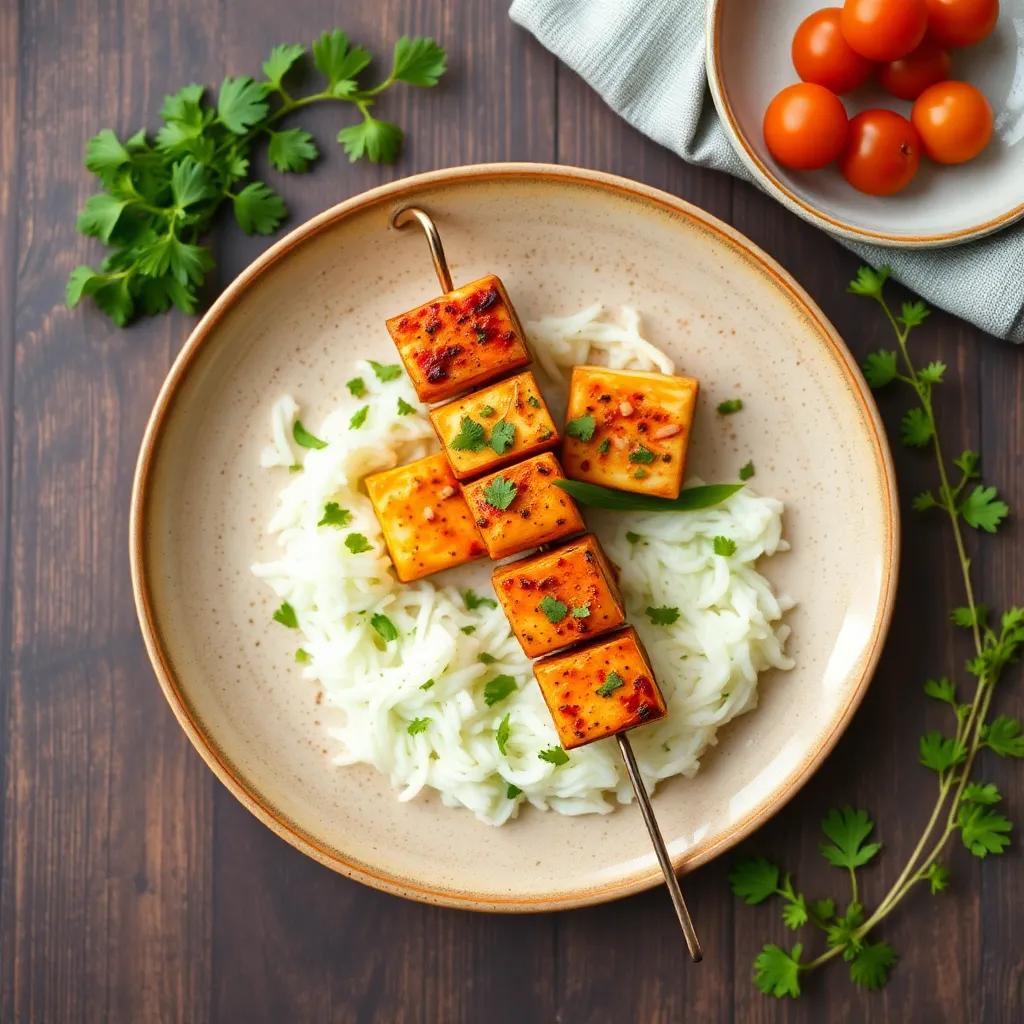
Ingredient Notes
When it comes to making an unforgettable Paneer Tikka, a few key ingredients truly set the stage for authentic flavor and texture. Let’s take a closer look at three staples that deserve special attention:
Paneer
Paneer is the heart and soul of this dish—a fresh, unsalted Indian cottage cheese that holds its shape beautifully when grilled. For the best results, opt for paneer that is firm and not overly crumbly. Homemade paneer can offer a fresher taste and better texture, but good-quality store-bought versions work well too. If fresh paneer isn’t available, pressing store-bought paneer between heavy books or plates for 20-30 minutes can help remove excess moisture and give it a denser bite—perfect for skewering and grilling. For vegan alternatives, firm tofu is a possible substitute, though the flavor and texture will naturally differ.
Thick Yogurt (Preferably Hung Yogurt)
The marinade’s creamy backbone, thick yogurt, acts as a tenderizing base that helps the spices cling to paneer and vegetables. Hung yogurt is simply regular yogurt that has been strained to remove whey, creating a thicker, creamier consistency—similar to Greek yogurt. This thickness intensifies the marinade’s richness and helps develop that signature charred crust when grilled. If you don’t have hung yogurt on hand, straining plain full-fat yogurt through a cheesecloth for an hour or two works just as well. Avoid watery yogurts, as they can dilute the marinade and make the paneer soggy.
Mustard Oil
Mustard oil brings a uniquely pungent, slightly spicy aroma that’s classic in many Indian grilled dishes. Its sharpness cuts through the richness of the paneer and yogurt marinade, adding complexity and a gentle heat to every bite. When using mustard oil, look for “edible” or “food grade” on the label to ensure it’s safe for cooking, as some varieties are meant only for external use. If mustard oil is unavailable or not to your taste, a neutral oil like vegetable or canola can substitute, but you’ll miss out on that distinctive mustard kick.
These ingredients—paneer, hung yogurt, and mustard oil—work harmoniously to create the perfect balance of creamy, tangy, and smoky flavors in your paneer tikka. Understanding their roles lets you adapt thoughtfully while preserving the dish’s essence, whether you’re shopping locally or experimenting in your kitchen.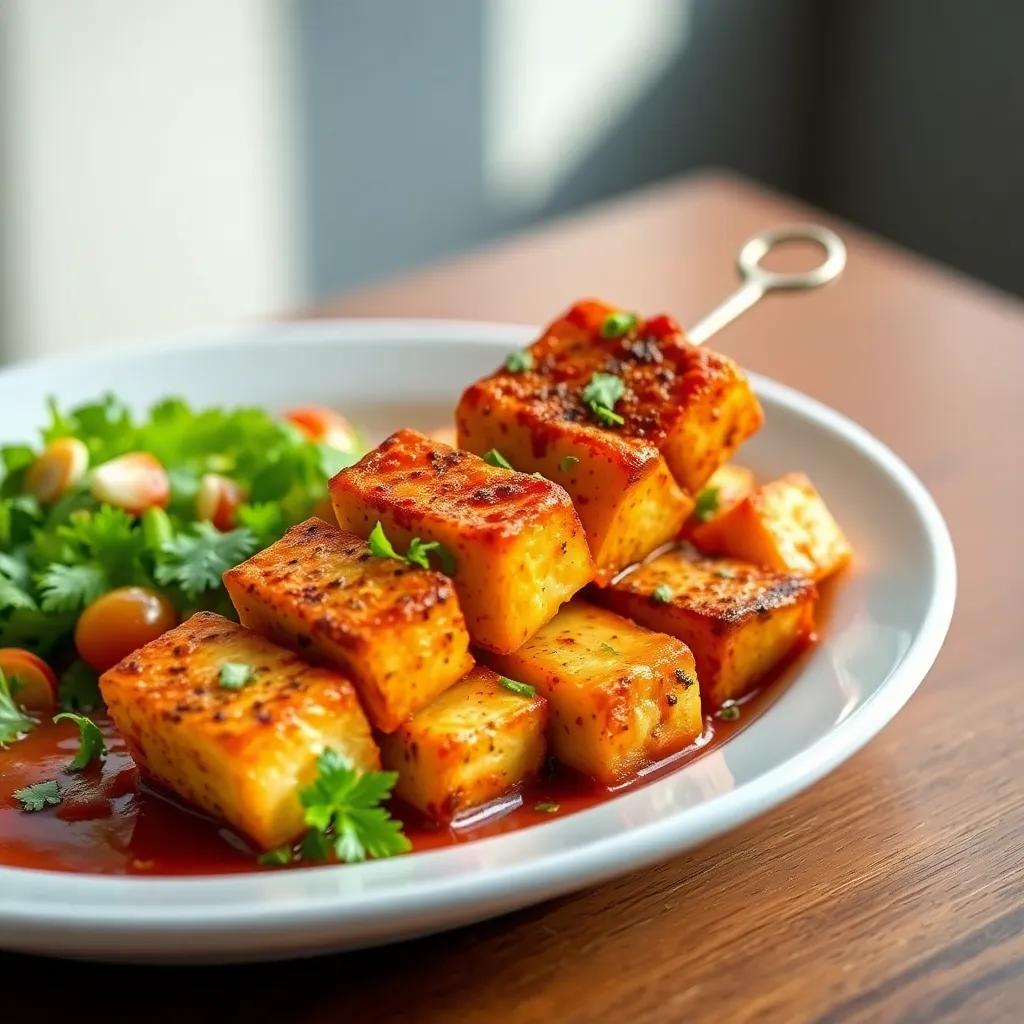
Tips & Variations
To achieve the best results with your paneer tikka, a few pro tips can elevate the flavor, texture, and presentation without extra fuss. First, marinating the paneer and vegetables for at least an hour is essential—this isn’t just about flavor absorption but also helps the spices tenderize the paneer slightly, enhancing each bite’s juiciness. If you have more time, an overnight marinade in the fridge will deepen the complexity even further.
When it comes to grilling, whether you’re using an oven, stovetop grill pan, or outdoor barbecue, make sure the heat is sufficiently high to create those signature charred edges while preventing the paneer from drying out. Turning the skewers frequently ensures an even cook and prevents burning. Brushing with oil before and midway through cooking locks in moisture and promotes caramelization—don’t skip this!
For customization, the beauty of paneer tikka lies in its flexibility. Swap bell peppers and onions for other vegetables like zucchini, cherry tomatoes, or mushrooms to vary texture and color. For a smoky flavor, try adding a small pinch of smoked paprika or a dash of liquid smoke to the marinade. If you prefer a tangier profile, a spoonful of tamarind paste or amchur (dry mango powder) can brighten the mix wonderfully.
If you’re catering to dietary preferences beyond gluten-free, such as veganism, replace paneer with firm tofu or a plant-based cheese substitute that grills well. To keep the marinade creamy without yogurt, use unsweetened coconut yogurt or cashew cream—just adjust seasoning to balance flavors.
On the spice front, feel free to dial up or down according to your heat tolerance. For a milder version, reduce the red chili powder and add a pinch of smoked paprika or coriander powder for depth without intensity. For extra punch, include finely chopped green chilies or a sprinkle of crushed black pepper when marinating.
Finally, presentation matters: serving the tikka with a sprinkle of chaat masala and fresh lemon juice just before serving enhances brightness and adds a delightful zing. Pair it with fresh green chutney or raita for contrast, and consider garnishing with a handful of chopped fresh coriander or mint leaves to add freshness and color.
With these tips and tweaks, you can easily turn your paneer tikka from delicious to outstanding, tailoring it perfectly to your taste, occasion, or dietary needs. Enjoy experimenting and making this classic your own!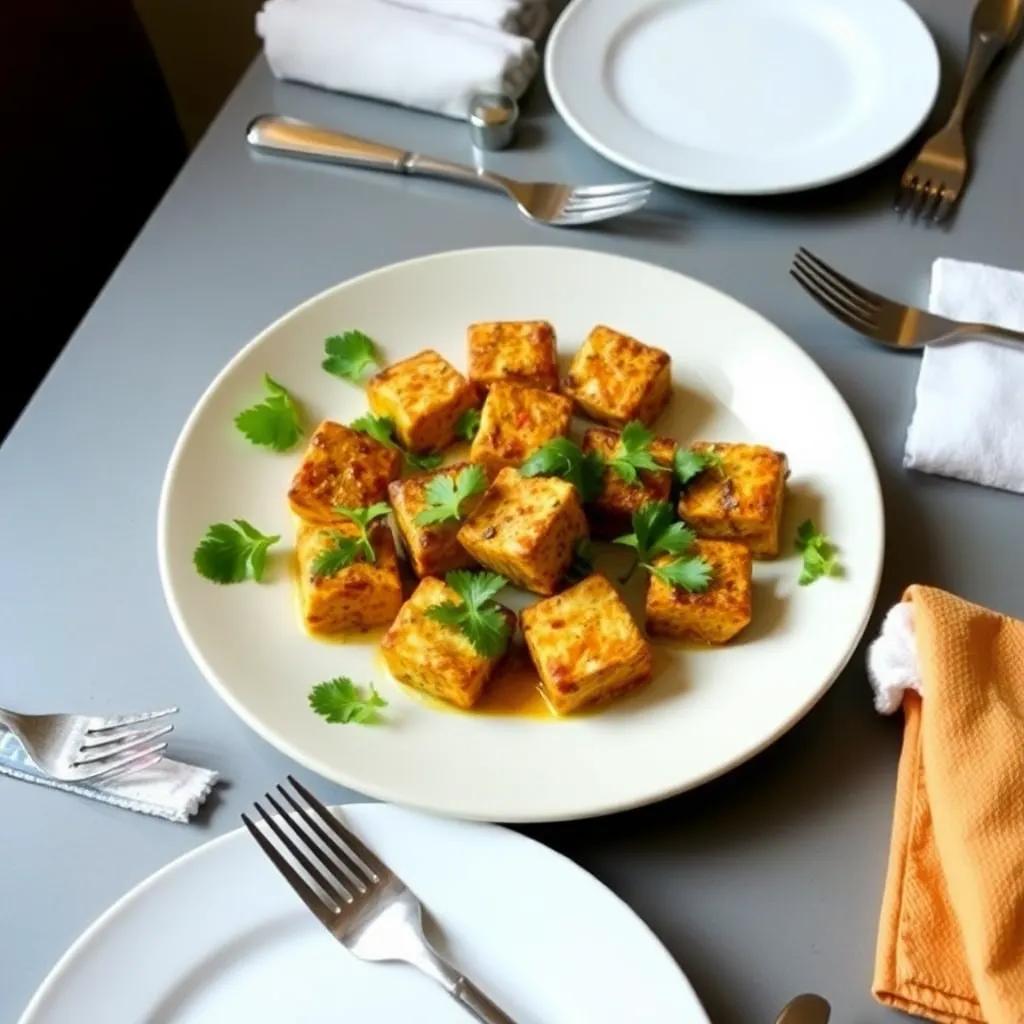
Leftovers & Storage
After the party’s over or when you have some leftovers from your delicious paneer tikka, proper storage is key to preserving those vibrant flavors and textures for another meal. To keep your paneer tikka fresh and safe to eat, allow it to cool to room temperature (but don’t leave it out for more than two hours) before transferring to an airtight container. Glass containers with tight-fitting lids are ideal because they don’t retain odors and help maintain moisture balance, but BPA-free plastic containers also work well in a pinch.
Stored in the refrigerator, paneer tikka will stay fresh for up to 2–3 days. When reheating, use a gentle method such as warming in a preheated oven at 180°C (350°F) for about 5–7 minutes or briefly on a stovetop grill pan to help revive the slight char and smoky notes. Microwaving is convenient but may soften the paneer and vegetables more than desired, so cover loosely with a microwave-safe lid and use medium heat to minimize drying out.
If you want to extend the shelf life, paneer tikka freezes nicely. Place portions on a baking sheet lined with parchment and freeze until firm, then transfer them to a freezer-safe container or zip-top bag. Frozen, the tikka can last up to 1 month without significant loss of flavor or texture. To reheat from frozen, thaw in the fridge overnight and then warm gently in the oven or stovetop grill. Avoid refreezing leftovers to maintain quality.
This recipe also lends itself beautifully to meal prepping. Marinate and skewer paneer and vegetables in advance, then store the prepared skewers (un-cooked) in the fridge covered with plastic wrap for up to 24 hours. When ready to eat, grill or bake fresh for that unbeatable smoky aroma. Alternatively, cook the tikka fully, refrigerate, and pack it cold for a flavorful, protein-packed lunch option—serve with a fresh chutney sachet or a squeeze of lemon for maximum zing.
With these storage and reheating tips, you can enjoy your paneer tikka beyond the initial feast, savoring every bite whether it’s a quick weeknight dinner, lunchbox treat, or impromptu snack.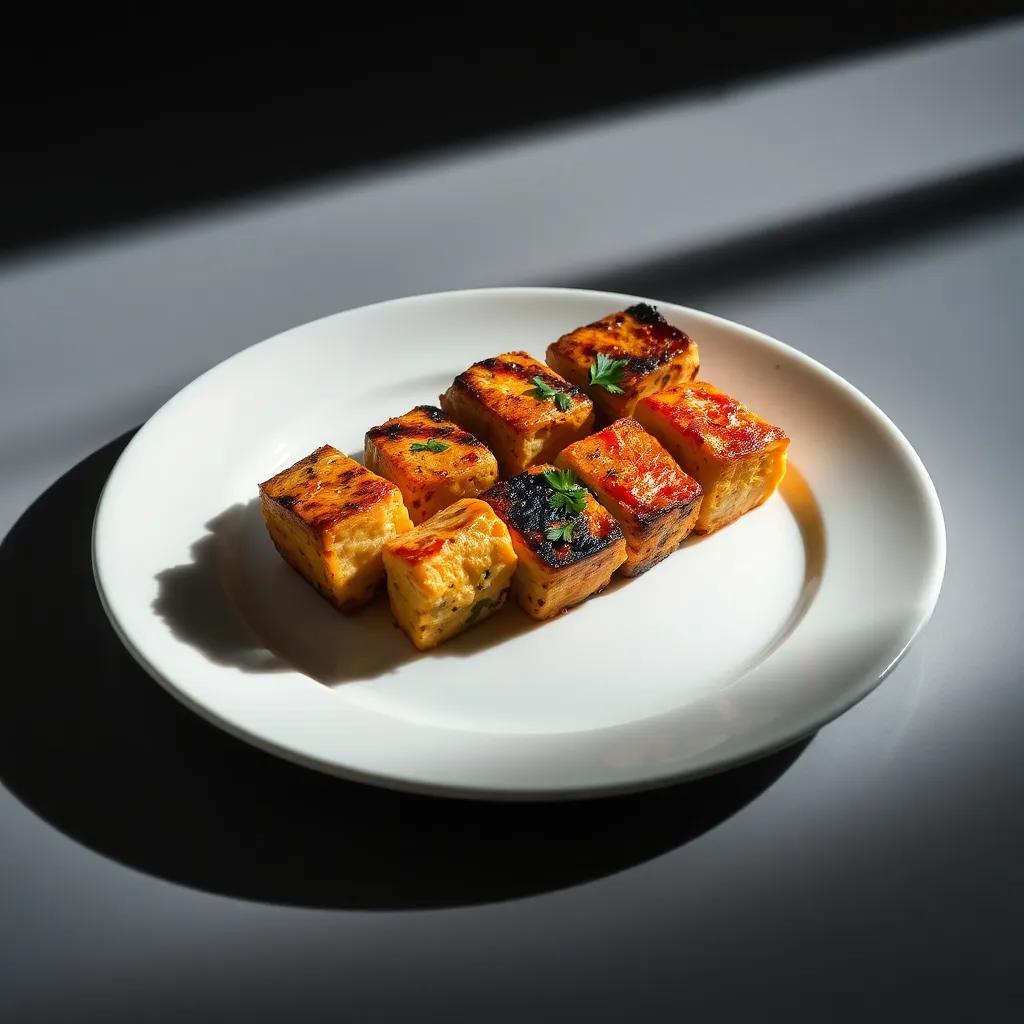
Behind the Recipe
Paneer Tikka is more than just a dish—it’s a celebration of India’s rich culinary heritage, rooted deeply in the tradition of tandoori cooking. Originating from the northern regions, particularly Punjab, this flavorful appetizer was originally prepared in clay ovens called tandoors, which imparted a distinctive smoky aroma and char to the paneer cubes and vegetables. While this recipe adapts that authentic style for home cooking using grills or ovens, it still captures the essence of those fiery, rustic flavors that define a true paneer tikka experience.
On a personal note, this recipe has always held a special place in many Indian homes as a go-to treat for festivals, weekend gatherings, or simply when family and friends come together. The ritual of marinating paneer with spices and yogurt, threading it alongside vibrant vegetables, and watching it cook to golden perfection is almost meditative—a sensory journey of aroma, color, and taste that brings everyone closer.
Beyond its traditional roots, paneer tikka also symbolizes adaptability. It’s a canvas where regional variations and personal twists thrive—whether that’s a smoky hint of mustard oil, a tangy burst from lemon juice, or the colorful crunch of fresh bell peppers and onions. This flexibility reflects the spirit of Indian cooking: honoring timeless techniques while embracing innovation.
By making this dish at home, you’re not just recreating a recipe—you’re connecting with a centuries-old culinary story that celebrates warmth, community, and the joy of sharing. Each tender, spiced cube of paneer carries that narrative, inviting you to savor the flavors and memories it has inspired across generations.
FAQ
Can I use tofu instead of paneer for a vegan version?
How can I make sure my paneer tikka stays juicy and doesn’t dry out?
Is this recipe naturally gluten-free, or do I need to watch out for certain ingredients?
What’s the best way to store leftovers, and can I freeze paneer tikka?
Can I customize the spice level or ingredients to suit my taste?
What’s the easiest way to reheat paneer tikka without losing its flavor?
Bon Appétit!
There’s something truly special about paneer tikka—its smoky, spice-kissed charm that’s both comforting and vibrant, all wrapped up in an easy, gluten-free package. Whether you’re a seasoned home cook or new to Indian flavors, this recipe invites you to savor each bite and make the dish your own.
We’d love to hear how your paneer tikka turns out! Feel free to leave a comment, rate the recipe, or share any unique twists you try along the way. Happy cooking, and here’s to many delicious moments ahead!