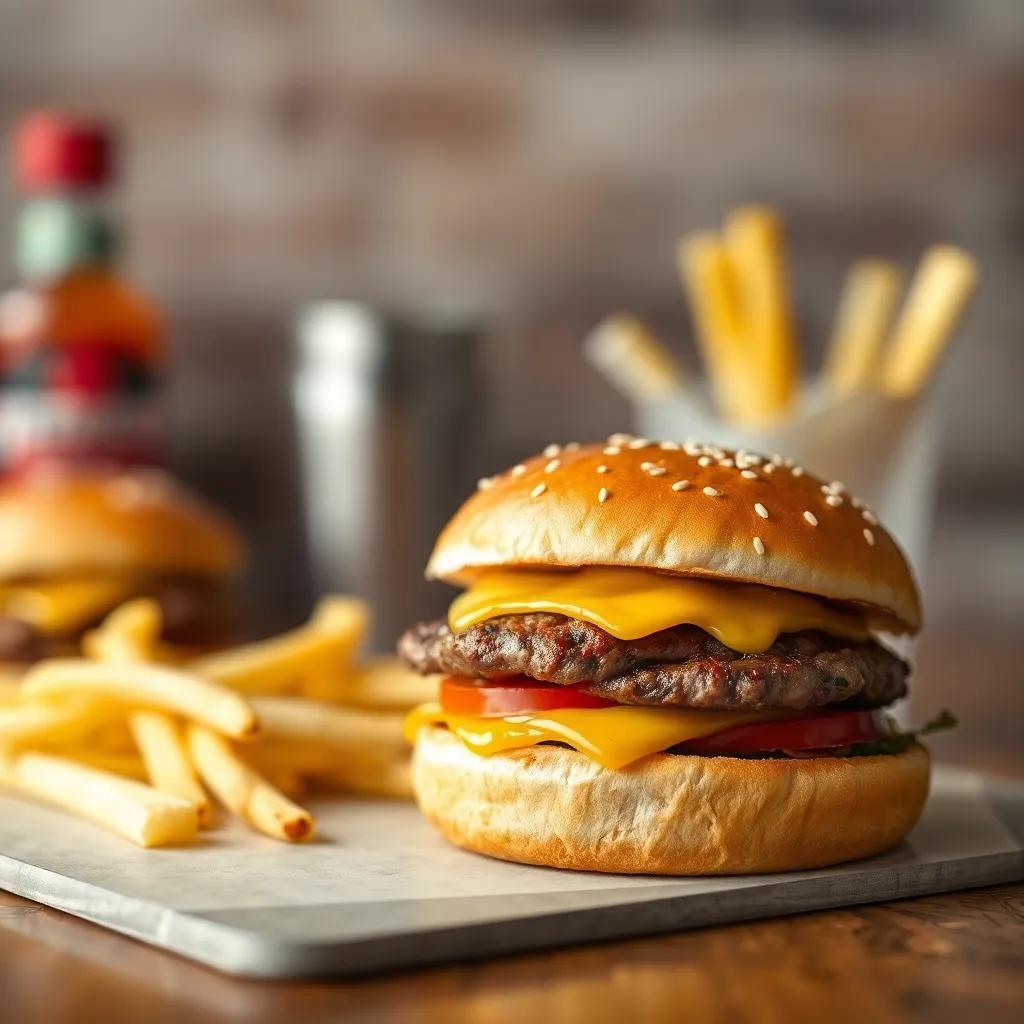
The Ultimate Cheeseburger Recipe: Juicy, Easy & Kid-Friendly Fun
The Ultimate Cheeseburger Recipe: Juicy, Easy & Kid-Friendly Fun
🌍 Cuisine: American
⚙️ Difficulty: Easy
Ingredients
Nutrition Facts
550 kcal
Instructions
- Preheat your grill or skillet over medium-high heat.
- In a bowl, gently mix the ground beef with salt and pepper. Do not overwork the meat to keep it juicy.
- Divide the beef into 4 equal portions and shape each into a patty slightly wider than the buns.
- Lightly oil the grill or skillet to prevent sticking.
- Cook the patties for about 4-5 minutes on the first side until nicely browned.
- Flip the patties and cook for another 3-4 minutes for medium doneness.
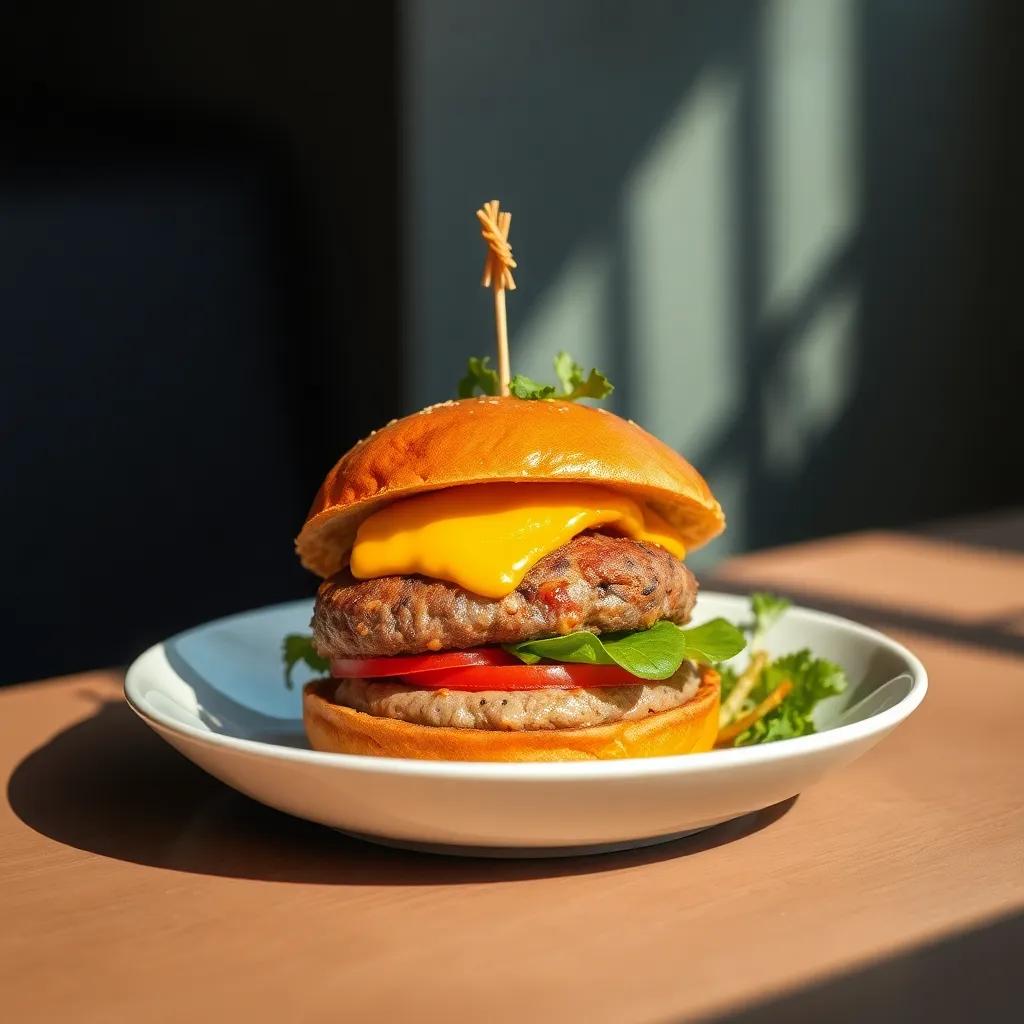
- Place a slice of cheddar cheese on top of each patty during the last minute of cooking to melt.
- Toast the burger buns lightly on the grill or in a toaster for added texture and warmth.
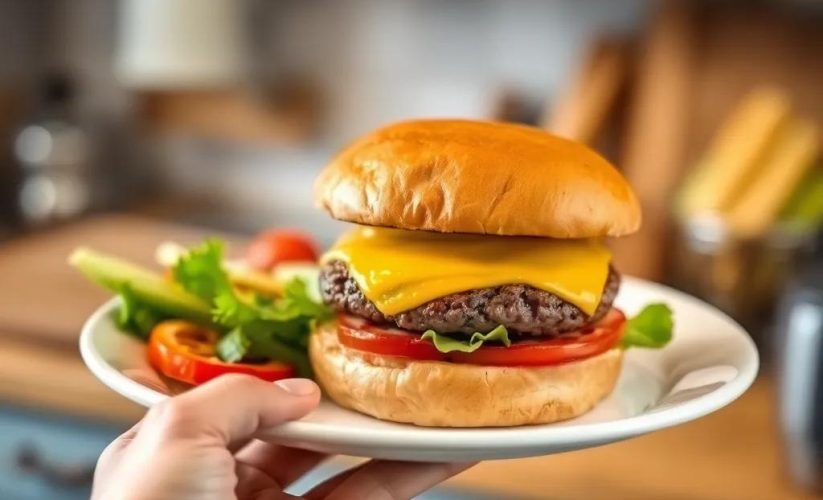
- Assemble each burger by placing the cooked cheeseburger patty on the bottom bun.
- Add optional toppings like lettuce, tomato slices, and pickles.
- Spread ketchup, mustard, and/or mayonnaise on the top bun as desired.
- Cover burgers with the top buns and serve immediately while hot and juicy.
- Enjoy your kid-friendly, juicy, and easy-to-make ultimate cheeseburger!
Serving Suggestions
- Serve with crispy French fries or sweet potato fries for a classic combo.
- Pair with a fresh garden salad for a lighter side option.
- Offer a variety of dipping sauces like ranch, BBQ, or spicy mayo for extra fun.
- Add a side of coleslaw to bring a cool and crunchy texture contrast.
- For a kid-friendly touch, serve with carrot sticks or apple slices on the side.
- Make mini sliders with the same recipe for parties or snack time.
- Try adding avocado slices or crispy bacon for an extra indulgent twist.
Table of Contents
Intro
There’s something undeniably satisfying about biting into a classic cheeseburger that’s juicy, flavorful, and built just right—especially when it comes together easily enough for busy weeknights or casual weekend gatherings. This ultimate cheeseburger recipe strikes the perfect balance between simplicity and tastiness, making it a reliable favorite for the whole family. Whether you’re feeding picky eaters or inviting friends over for an informal cookout, these burgers deliver consistently delicious results without any fuss.
Beyond the obvious appeal of a melty cheese slice and perfectly seared beef patty, this recipe shines in its versatility and straightforward approach. It invites you into the fun of grilling or skillet cooking with minimal prep and cleanup, so you can focus more on enjoying the moment than wrestling with complicated steps. Plus, it’s an approachable way to duce kids to cooking, letting them appreciate the magic that happens when a few simple ingredients come together to create a satisfying meal.
Ideal for backyard barbecues, quick family dinners, or even casual birthday parties, these cheeseburgers offer familiar flavors that appeal to all ages. Their comforting charm pairs effortlessly with classic sides like fries or a crisp salad, making every bite a memorable experience. Whether it’s a sunny afternoon or a cozy evening indoors, this recipe transforms the humble cheeseburger into an easy, reliable crowd-pleaser that never goes out of style.
Ingredient Notes
When it comes to crafting the ultimate cheeseburger, a few key ingredients play starring roles in delivering flavor, texture, and juiciness that set this recipe apart. Understanding these essentials not only helps you pick the best options at the store but also empowers you to make smart swaps when needed.
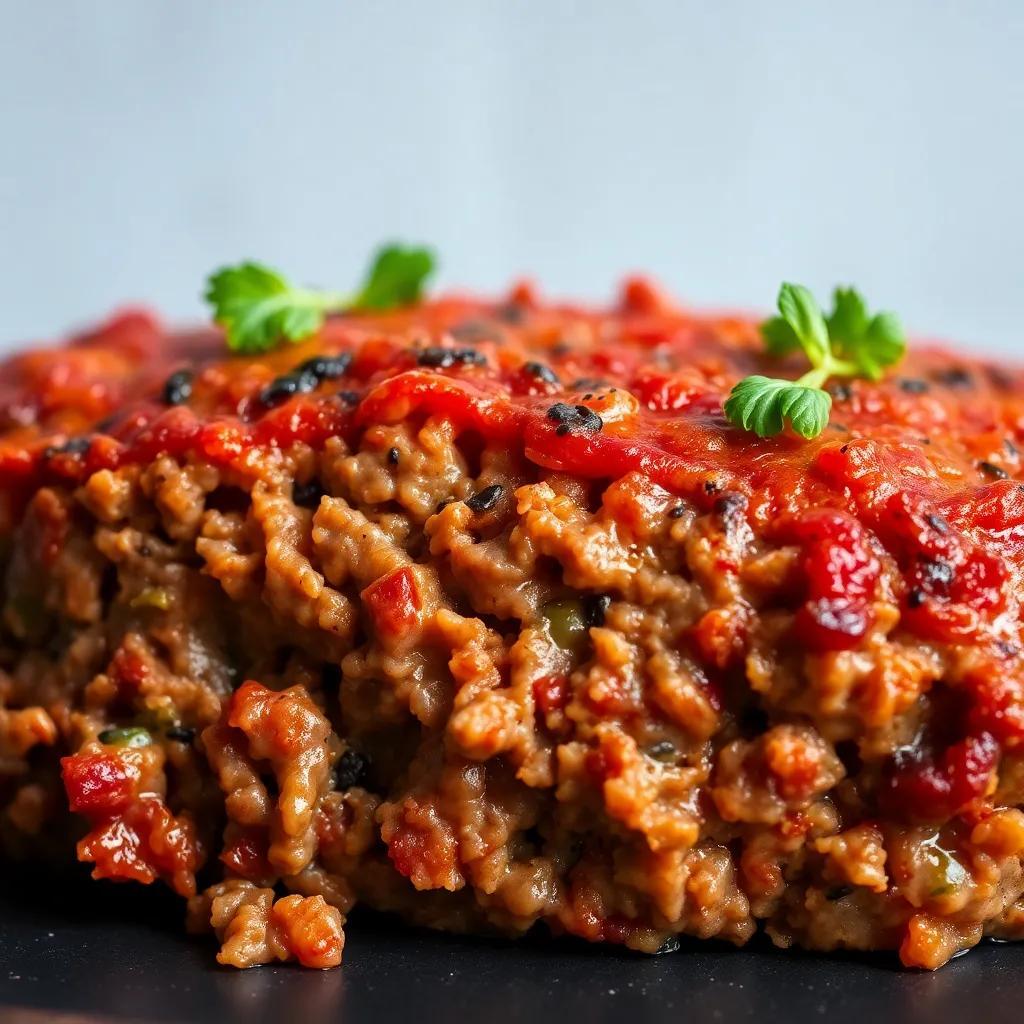
Ground Beef (80% Lean):
Choosing ground beef with about 80% lean meat and 20% fat is crucial for juicy, flavorful patties. The fat content melts during cooking, keeping the burger moist and tender while creating that irresistible crust. Leaner beef tends to dry out quickly, losing the richness that makes cheeseburgers so satisfying. When shopping, look for freshly ground beef from a trusted butcher or in the meat section with a bright red color and minimal freezer burn. If you can’t find 80% lean, aim for the closest ratio, but be mindful that extra-lean blends might require gentler cooking to avoid drying out.
American Cheddar Cheese Slices:
This classic choice melts beautifully, adding a creamy, mild sharpness that complements the beef without overpowering it. American cheddar’s smooth meltability is what gives cheeseburgers their signature gooey topping. If you’re seeking alternatives, processed cheeses labeled as “American cheese” work similarly well. For a more artisanal touch, other cheeses like mild white cheddar, Monterey Jack, or even smoked gouda can offer interesting flavor twists, but keep in mind melting characteristics to maintain that signature cheeseburger experience.
Burger Buns:
The bun’s role is often underestimated, yet it’s the foundation of your burger-building success. Opt for soft, slightly sweet buns—like classic potato buns or brioche—that can soak up juicy drippings without falling apart. Buying fresh buns from a bakery or grocery store’s bakery section ensures better texture and flavor than mass-produced, overly dense varieties. If you prefer whole wheat or gluten-free, just make sure the buns hold their shape and provide a gentle contrast to the savory filling. Toasting the buns lightly before assembling enhances both texture and flavor, giving a subtle crunch and warming the bread.
By focusing on these three ingredients—each carefully selected or substituted—you create a harmonious balance that makes this cheeseburger recipe truly shine every time. Knowing what to look for and how to handle these staples allows your kitchen creativity to flourish without sacrificing the juicy, kid-friendly classic that everyone loves.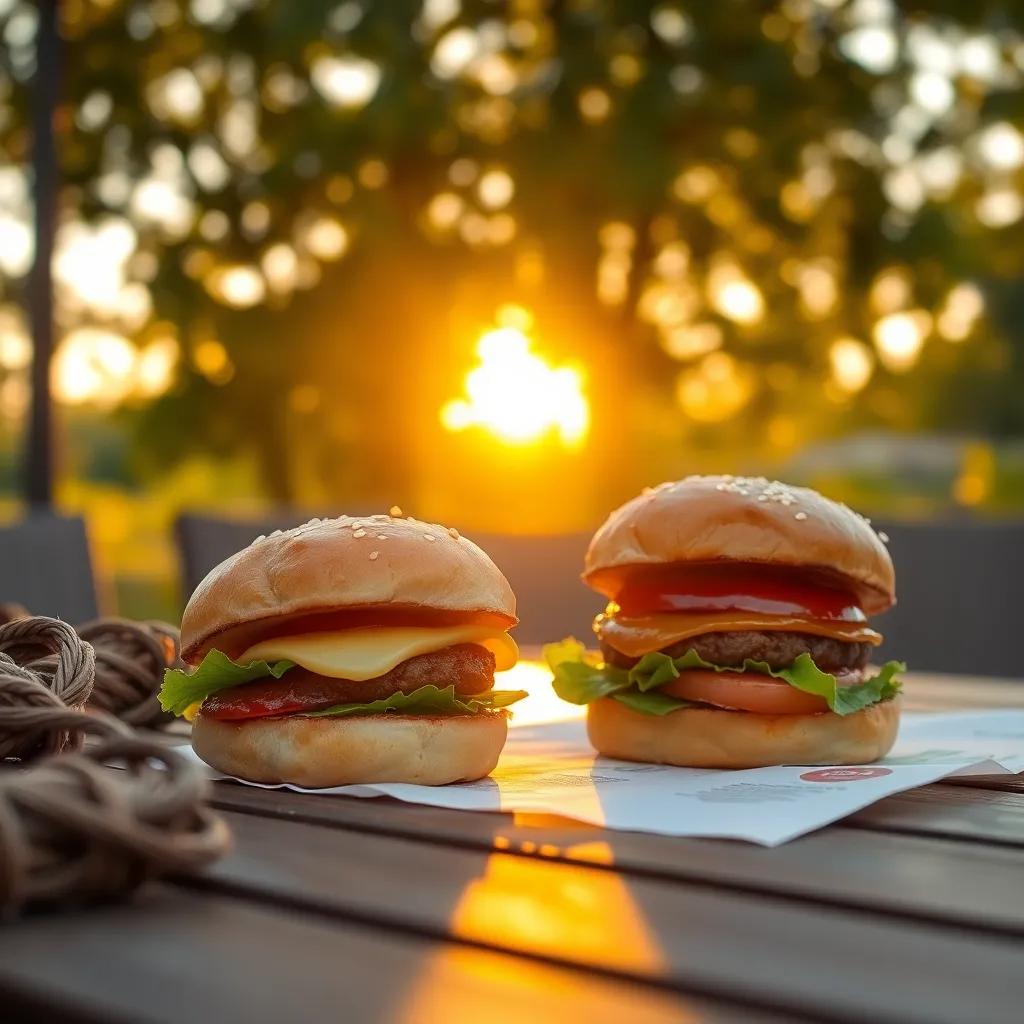
Tips & Variations
For an elevated cheeseburger experience, here are some pro tips and fun variations to customize this classic recipe to suit your tastes and dietary needs:
- Handle the Meat Gently: When mixing salt and pepper into the ground beef, avoid overworking the meat to prevent tough, dry patties. Lightly combine just until evenly seasoned for juicy results.
- Create a Patty Dimple: Press a shallow indentation in the center of each patty before cooking. This simple trick helps the burger cook evenly and prevents it from puffing up too much in the middle.
- Cheese Choices: While American cheddar is perfect for that melty, creamy layer, swapping in other cheeses can add exciting flavor. Try pepper jack for a mild kick, Swiss for a nutty note, or blue cheese crumbles for a bold twist. For the melt factor, look for cheeses with good moisture content.
- Bun Upgrades: Experiment with different buns to change the burger’s character. Brioche adds a touch of sweetness and softness, pretzel buns introduce a chewy, salty bite, and ciabatta brings a rustic crunch. Gluten-free buns or lettuce wraps serve well as alternatives for gluten-sensitive guests.
- Add Fresh Herbs or Mix-ins: Incorporate finely chopped fresh herbs like parsley, chives, or thyme into the ground beef for subtle aromatic layers. For a kid-friendly variation, mild additions like finely grated onion or garlic powder enhance flavor without overpowering.
- Build Your Own Toppings Bar: Encourage creativity by setting out an array of toppings such as caramelized onions, avocado slices, crispy bacon, sautéed mushrooms, or jalapeños. This makes mealtime interactive and caters to diverse preferences in one sitting.
- Sauce Swaps and Inventions: Move beyond ketchup and mustard by trying chipotle mayo, garlic aioli, BBQ sauce, or even a tangy tzatziki-style yogurt spread. Sauces can dramatically shift the flavor profile, offering everything from smoky to creamy or zesty.
- Vegan & Vegetarian Versions: For plant-based eaters, swap the beef for veggie patties made from black beans, lentils, or mushrooms. Use dairy-free cheese slices and vegan buns to keep the dish inclusive without sacrificing texture or taste.
- Lean or Richer Meat Options: If you prefer a leaner burger, ground turkey or chicken can be used instead of beef—just be mindful that these cook faster and can dry out, so consider adding a bit of olive oil or finely chopped mushrooms to maintain moisture.
- Cooking Methods for All Seasons: While grilling imparts a smoky flavor perfect for summer barbecues, skillet cooking indoors works year-round. For a healthier spin, try baking patties on a wire rack to let excess fat drip away.
- Kid-Friendly Modifications: To engage little ones, try mini sliders using smaller buns or cut the cheeseburger into halves for easier handling. Introducing toppings separately encourages picky eaters to try new flavors at their own pace.
These tips and variations allow you to personalize the ultimate cheeseburger to fit any occasion, palate, or dietary consideration, making it a versatile staple in your culinary repertoire.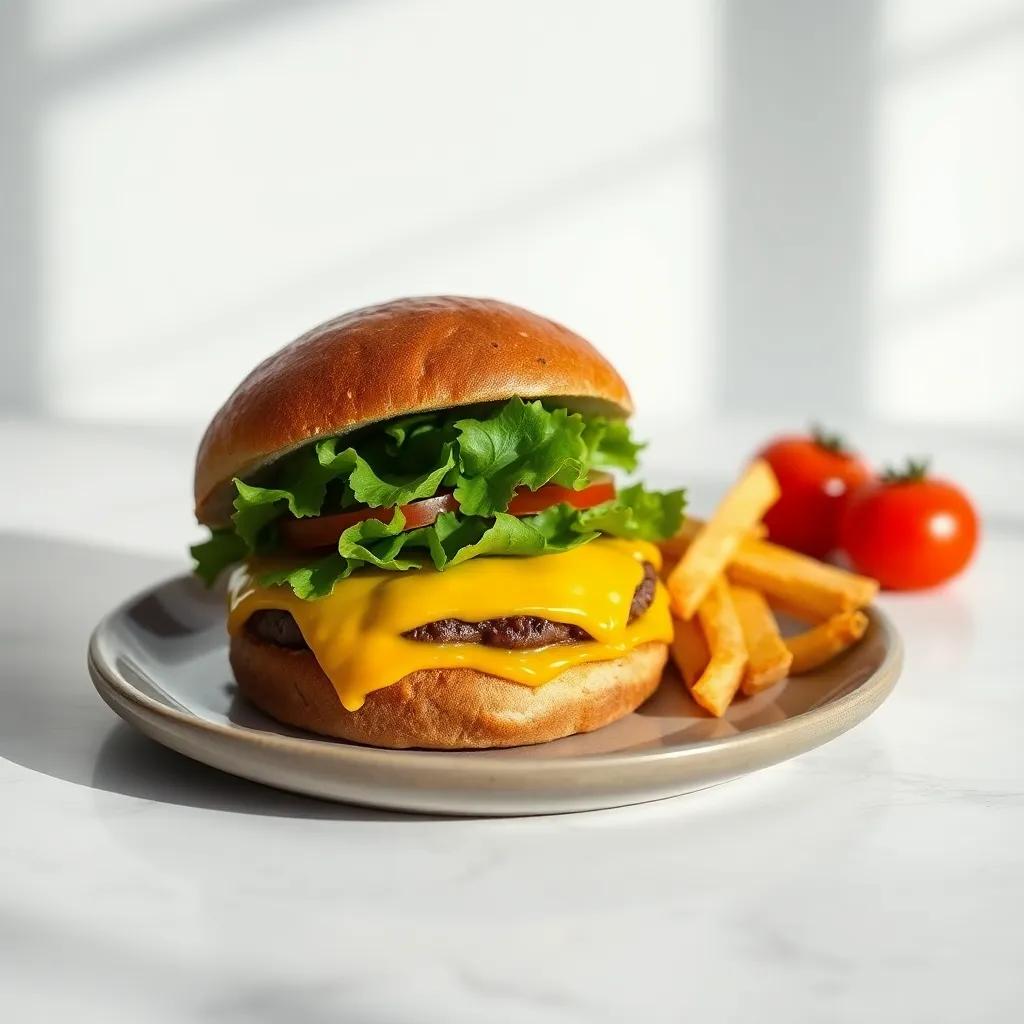
Leftovers & Storage
When it comes to enjoying your ultimate cheeseburger experience beyond the initial meal, proper handling of leftovers is key to keeping those juicy flavors intact and ensuring food safety. Whether you’ve got a few extra patties or assembled burgers waiting, following some straightforward storage tips will make your next burger time just as delicious.
For leftover cooked patties without buns or toppings, allow them to cool slightly at room temperature (no more than two hours) before transferring to an airtight container or wrapping tightly in plastic wrap or aluminum foil. Stored this way, they will stay fresh in the refrigerator for up to 3–4 days. When you’re ready to reheat, gently warming the patties in a skillet or oven helps maintain juiciness better than microwaving, which can dry them out quickly.
If you have fully assembled burgers leftover, it’s best to separate the components for optimal freshness. Remove lettuce, tomato, pickles, and sauces from the burger and store them separately in small containers. Wrap the burger patties and buns separately in airtight containers or foil. Burgers stored whole tend to get soggy, especially the buns, so this separation keeps textures intact. In the fridge, these parts will keep well for up to 2 days.
For longer storage, both patties and buns freeze beautifully. Wrap each patty individually in plastic wrap and place in a freezer-safe container or zip-top bag to prevent freezer burn. Burger patties can last 2–3 months in the freezer. Buns can be frozen whole or sliced, wrapped tightly, and reheated in the oven or toaster for that freshly toasted effect.
When meal prepping for the week, consider cooking the patties in bulk and storing them chilled or frozen in single portions. This way, you can quickly assemble a fresh cheeseburger on demand with crisp buns and freshly added toppings, preserving the “just-made” appeal. Keeping condiments aside until serving ensures your burgers stay vibrant without sogginess.
Finally, if packing cheeseburgers for lunches or picnics, assemble them right before eating or pack components separately to maintain crunch and warmth. A small insulated bag or container with a cold pack can keep perishables like lettuce and tomato fresh until mealtime.
Smart leftovers and storage techniques not only reduce waste but also save you time on busy days while keeping your kid-friendly, juicy cheeseburger moments just as enjoyable the second time around.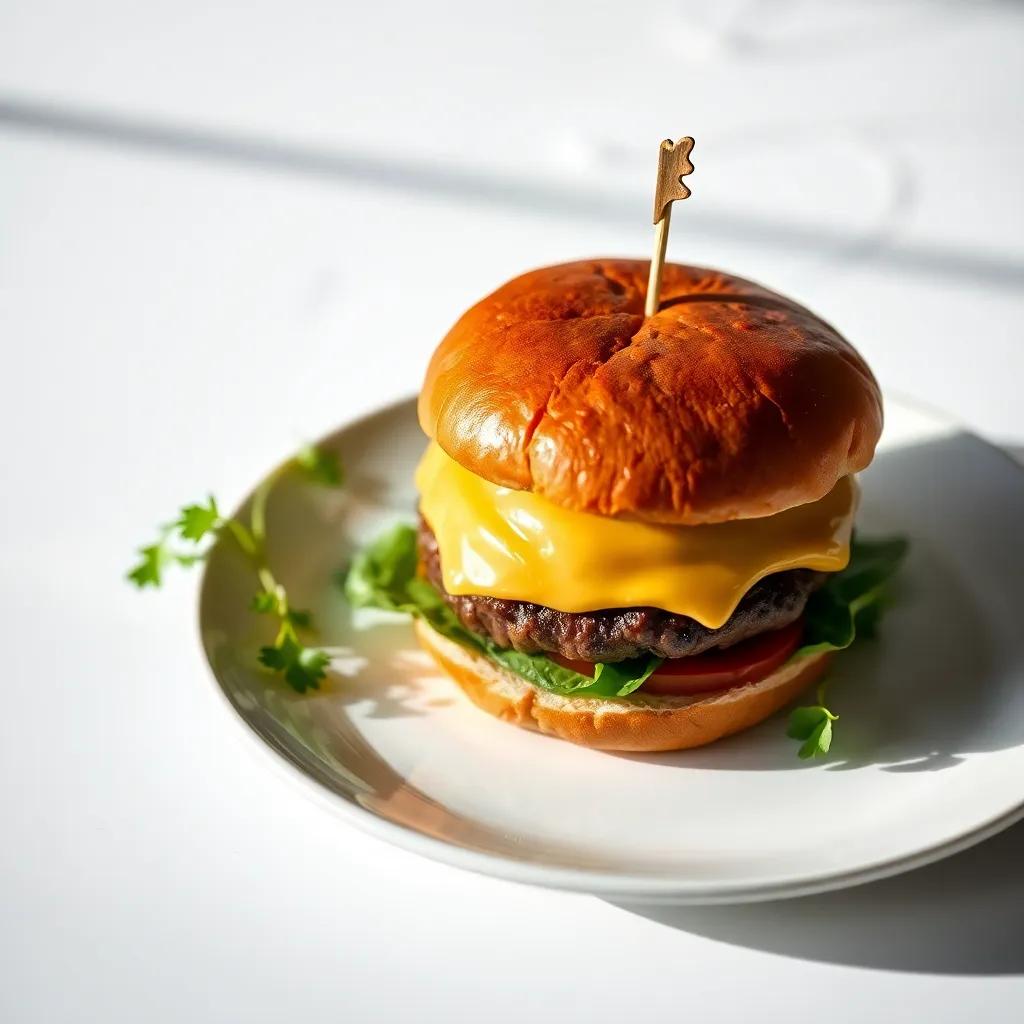
Behind the Recipe
The cheeseburger is more than just a meal—it’s an enduring symbol of American comfort food and casual dining culture. This ultimate cheeseburger recipe draws from decades of culinary tradition, blending the simplicity of ground beef with the joyful familiarity of melted American cheddar cheese and soft, toasted buns. It’s a recipe that embodies the essence of home-cooked satisfaction and the joy of gathering around the table.
Historically, the hamburger emerged in the early 20th century as a convenient, affordable street food that quickly won hearts across the United States. Over time, it morphed into countless regional variations, but the classic cheeseburger—juicy beef patty crowned with melty cheese in a soft bun—remained a steadfast favorite. This recipe distills that tradition into an approachable format, perfect for everyday meals and accessible for cooks of all skill levels.
For many families, there’s a certain nostalgia tied to grilling burgers in the backyard or assembling them with kids eagerly choosing their favorite toppings. This recipe was inspired by those moments—when cooking turns into a shared experience and simple ingredients become the backdrop for laughter and connection. The kid-friendly nature of the cheeseburger invites young ones to explore tastes and textures safely, making mealtime both fun and memorable.
In crafting this version, the focus was on balancing ease and flavor: using just enough seasoning to enhance the beef’s natural richness, choosing a cheese that melts smoothly and complements without overpowering, and encouraging straightforward techniques so that anyone can replicate the juicy, classic texture. It’s a celebration of the perfect cheeseburger—not complicated by trends or exotic ingredients, but perfected by respect for the staple elements that have delighted generations.
Ultimately, this recipe is a tribute to the simple joy of a well-made cheeseburger—one that’s quick enough for weeknight dinners yet special enough to bring friends and family together. Behind each juicy bite lies a story of tradition, togetherness, and the timeless pleasure of comfort food done just right.
FAQ
Can I make this cheeseburger recipe gluten-free?
What’s the best way to keep the burgers juicy?
Can I prepare the patties ahead of time and freeze them?
How can I customize the cheeseburger to make it vegetarian or vegan?
What sides pair best with these cheeseburgers for a kid-friendly meal?
What’s the easiest way to reheat leftover cheeseburgers without drying them out?
Enjoy Your Meal!
There you have it—the ultimate cheeseburger recipe that’s juicy, easy, and perfect for the whole family to enjoy. Whether you’re a seasoned cook or just looking for a fun, kid-friendly meal, this recipe brings everyone to the table with smiles and satisfied taste buds.
Give it a try and let us know how it turns out! We’d love to hear your favorite twists, rate the recipe, or read your stories in the comments. Happy cooking and even happier eating!